Biscoff Ice Cream
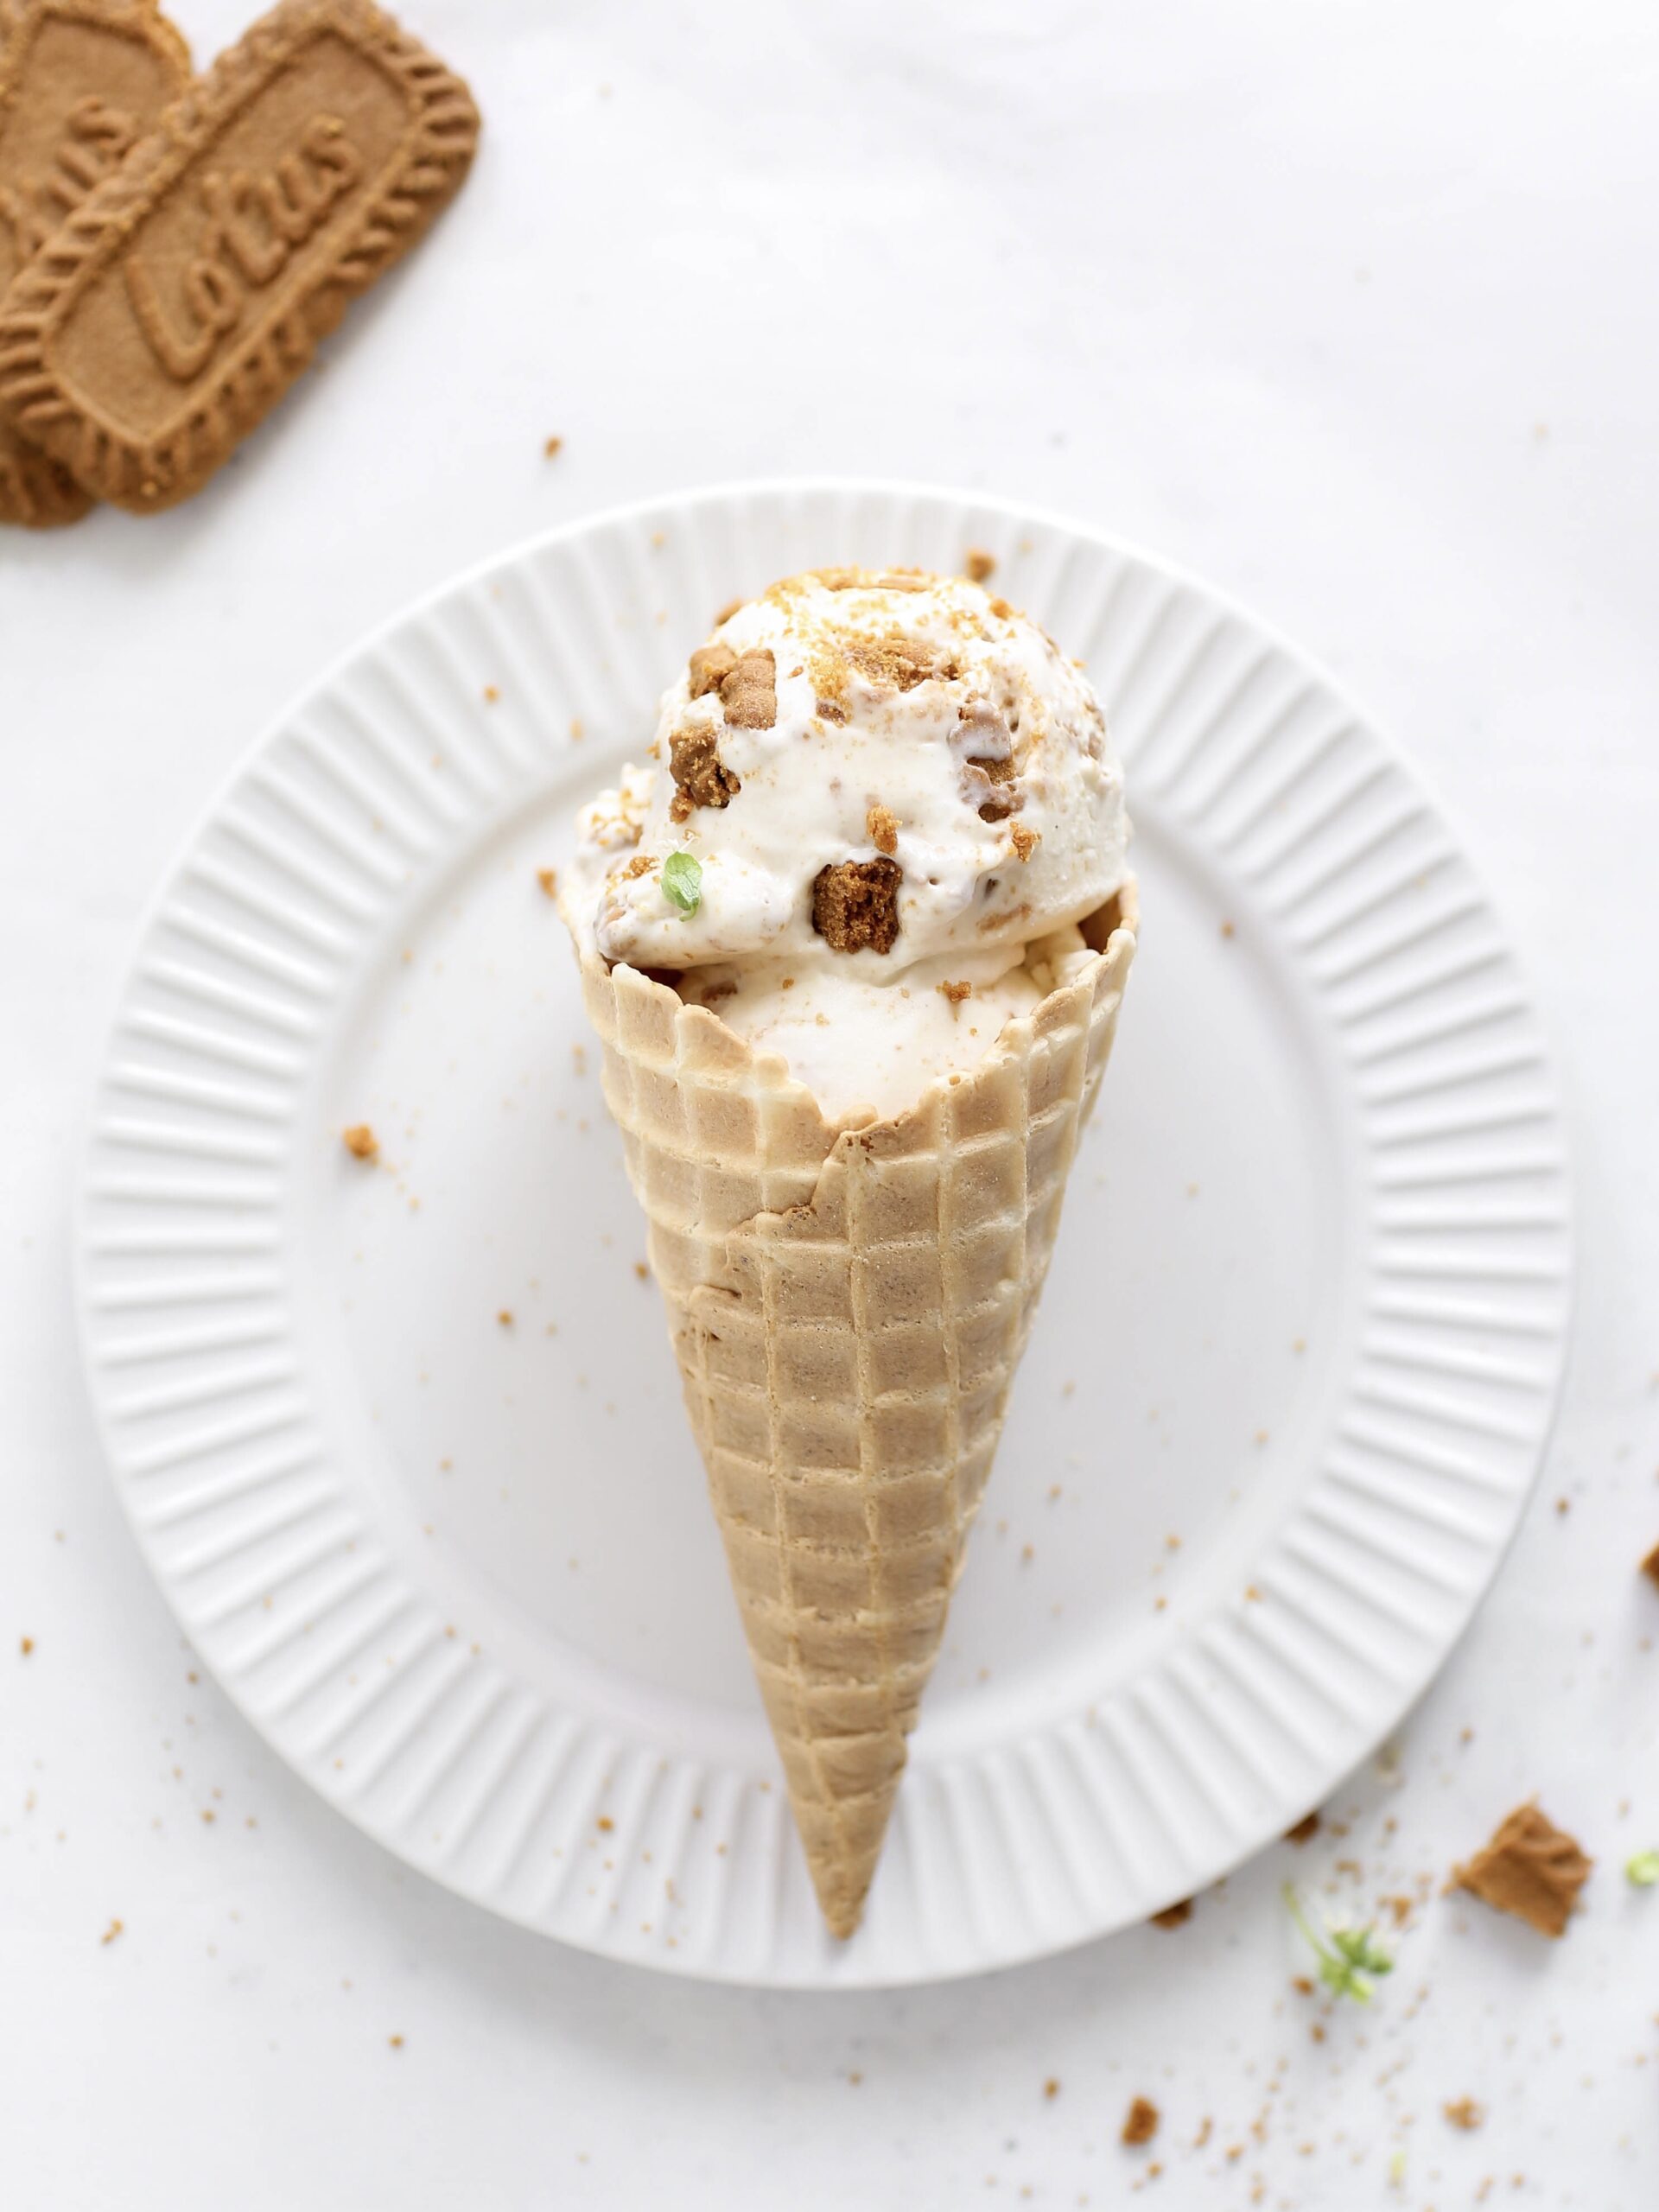
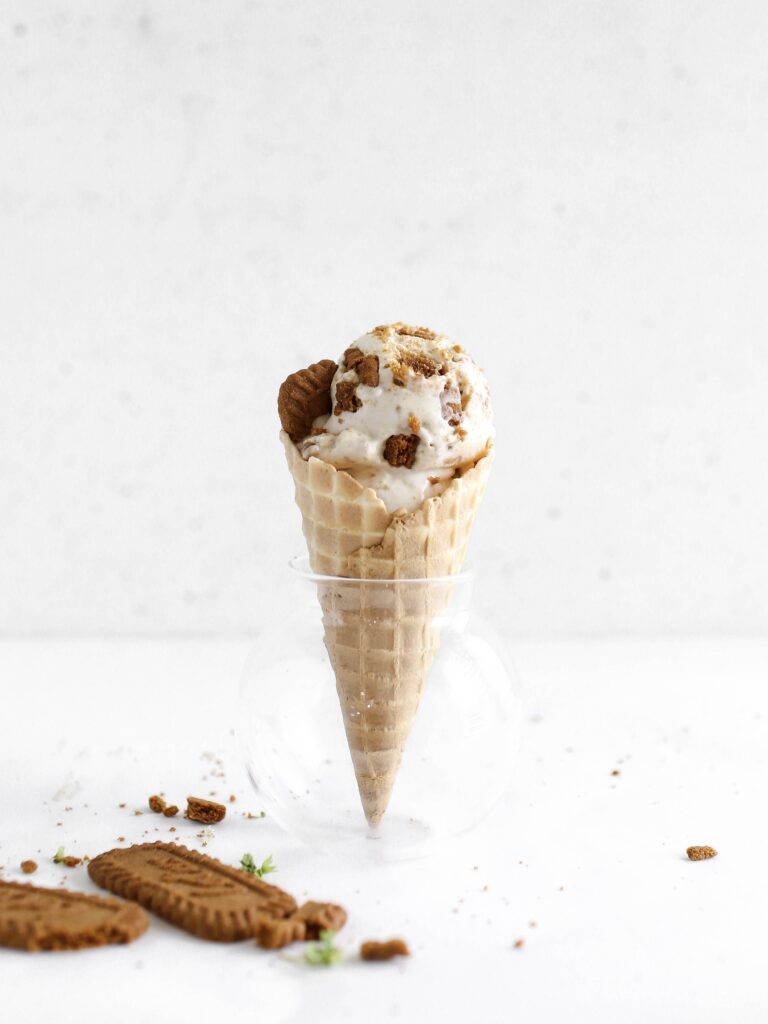
This Biscoff ice cream is the ultimate indulgence for cookie lovers, and this homemade version is pure heaven. Smooth, rich, and bursting with that signature caramelized Biscoff flavor, this ice cream is simple to make and requires just a few ingredients. If you don’t have an ice cream maker or Ninja Creami, no problem! You…
Biscoff Ice Cream
This Biscoff ice cream is the ultimate indulgence for cookie lovers, and this homemade version is pure heaven. Smooth, rich, and bursting with that signature caramelized Biscoff flavor, this ice cream is simple to make and requires just a few ingredients. If you don’t have an ice cream maker or Ninja Creami, no problem! You can whip up this creamy treat by hand.
What you’ll need
1 ¼ cup heavy cream: This gives your ice cream its smooth, rich texture.
¼ cup milk: Helps balance the creaminess while maintaining a soft consistency.
½ cup sweetened condensed milk: Adds sweetness and keeps the ice cream scoopable, even after freezing.
1 teaspoon vanilla bean paste or vanilla extract: Vanilla enhances the Biscoff flavor, adding warmth and depth.
¼ cup crushed Biscoff cookies: Optional, for a bit of crunch and extra cookie goodness.
How to make it (No Churn, Hand-Whisk Method)
Prepare the Ice Cream Base: In a large mixing bowl, combine the heavy cream, milk, sweetened condensed milk, and vanilla bean paste (or vanilla extract).
Whip the Cream: Now, with the hand whisk, vigorously whisk the cream mixture for about 5-7 minutes, or until it thickens and soft peaks form. You want the texture to be light and airy, but not fully stiff like whipped cream. The goal is to create a fluffy texture that will mimic the churned effect of an ice cream maker.
Add Texture with the Crushed Biscoff Cookies: Fold in the crushed Biscoff cookies gently.
Chill the Mixture: Cover the bowl with plastic wrap and place it in the freezer. Leave the ice cream to freeze for at least another 6 hours, or until it is fully set.
Serve and Enjoy: Once the ice cream is firm, scoop and serve!
Pro Tips for Perfect Biscoff Ice Cream
How to make Biscoff Ice Cream in a Ninja Creami:
If you have a Ninja Creami, making Biscoff ice cream is even easier! Here’s how to do it:
Prepare the Ice Cream Mixture: Follow steps from the traditional method, whisking together the heavy cream, milk, condensed milk, and vanilla.
Freeze in Ninja Creami Pint: Pour the mixture into the Ninja Creami pint container, Place the pint in the freezer and freeze for 24 hours.
Process in the Ninja Creami: Once the mixture is fully frozen, take the pint out of the freezer and insert it into the Ninja Creami machine. Select the “Ice Cream” mode and let the machine work its magic.
Add Mix-ins: Add crushed Biscoff cookies, select the “Mix-In” option after the ice cream is processed. This step ensures the mix-ins are evenly distributed throughout your creamy, dreamy ice cream. If you like bigger chunks, crush the cookies using a cup on a plate and mix in manually.
Enjoy! Scoop your perfectly creamy Biscoff ice cream straight from the pint and enjoy immediately! You can store any leftovers in the freezer for up to a week, though the texture may firm up a bit after the first day.
Why You’ll Love This Biscoff Ice Cream
This Biscoff ice cream is everything you love about the famous cookies, but in a frozen, creamy form. The caramelized, spiced flavor of Biscoff pairs perfectly with the smooth texture of the ice cream, creating a dessert that’s sweet, indulgent, and comforting. Adding crushed Biscoff cookies adds a delightful crunch to every bite.
Enjoy it in a cone, paired with a dessert, or straight from the bowl, this homemade Biscoff ice cream is sure to be a crowd-pleaser. And the best part? You don’t need any special equipment.
Pro Tips for Perfect Biscoff Ice Cream:
- Whip the cream until it forms soft peaks. Over-whipping can turn the cream into butter, resulting in a grainy texture in your ice cream.
2. Allow the ice cream to sit at room temperature for a few minutes before scooping. This makes it easier to serve and enhances the flavor.

Ingredients
- 1 ¼ cup heavy cream
- ¼ cup milk
- ½ cup condensed milk
- 1 teaspoon vanilla bean paste /vanilla extract
- 5-6 biscoff cookies
Instructions
Using a Whisk:
- Place the cookies in a zip lock bag or a flat plate and crush by rolling with a rolling pin or tumbler.
- To a bowl, add the heavy cream.
- Using a hand whisk, whip for about 4 minutes, or until it thickens and very soft peaks form.
- Add the milk, condensed milk, and vanilla extract or paste.
- Mix for 1 minute until well combined.
- Transfer to a bowl, cover with cling film, and freeze for at least 6 hours or until firm.
Using an Ice Cream Maker:
- To a bowl, add the heavy cream, milk, condensed milk and vanilla.
- Pour the mixture into the ice cream maker and churn according to the manufacturer’s instructions, usually for about 20-30 minutes, until it reaches a soft-serve consistency.
- Add crushed biscoff cookies and transfer the ice cream to an airtight container, cover it, and freeze for at least 4 hours or until firm.
Using a Ninja Creami:
- To a bowl, add the heavy cream.
- Using a hand whisk, whip for about 4 minutes, or until it thickens and very soft peaks form.
- Add the milk, condensed milk, and vanilla extract or paste.
- Mix for 1 minute until well combined.
- Pour the mixture into the Ninja Creami pint container, cover with the lid, and freeze for at least 24 hours.
- Once frozen, remove from the freezer and process in the Ninja Creami using the “Ice Cream” function until you achieve your desired texture.
- When it done add the crushed cookies then fold it in by hand or return to the machine and select mix in for a smoother consistency.
Notes
Did you make this recipe?
Tag, mention or DM @kikifoodies. I would love to hear from you!
