Gingerbread Chin Chin
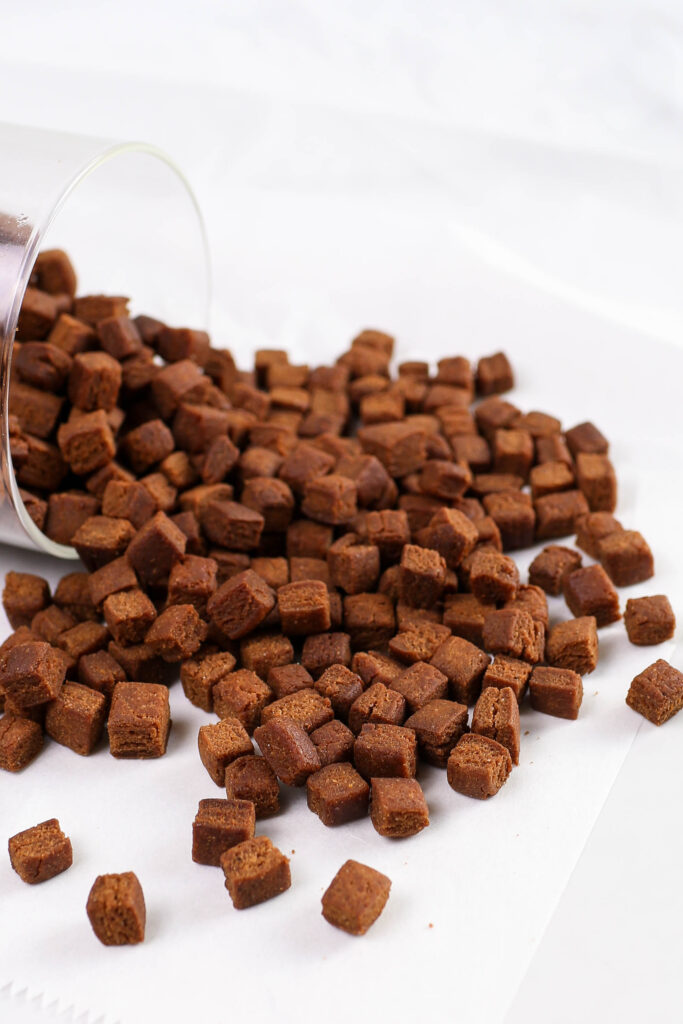
Chin chin is already a hit, but this gingerbread twist? Total holiday magic.
Gingerbread Chin Chin
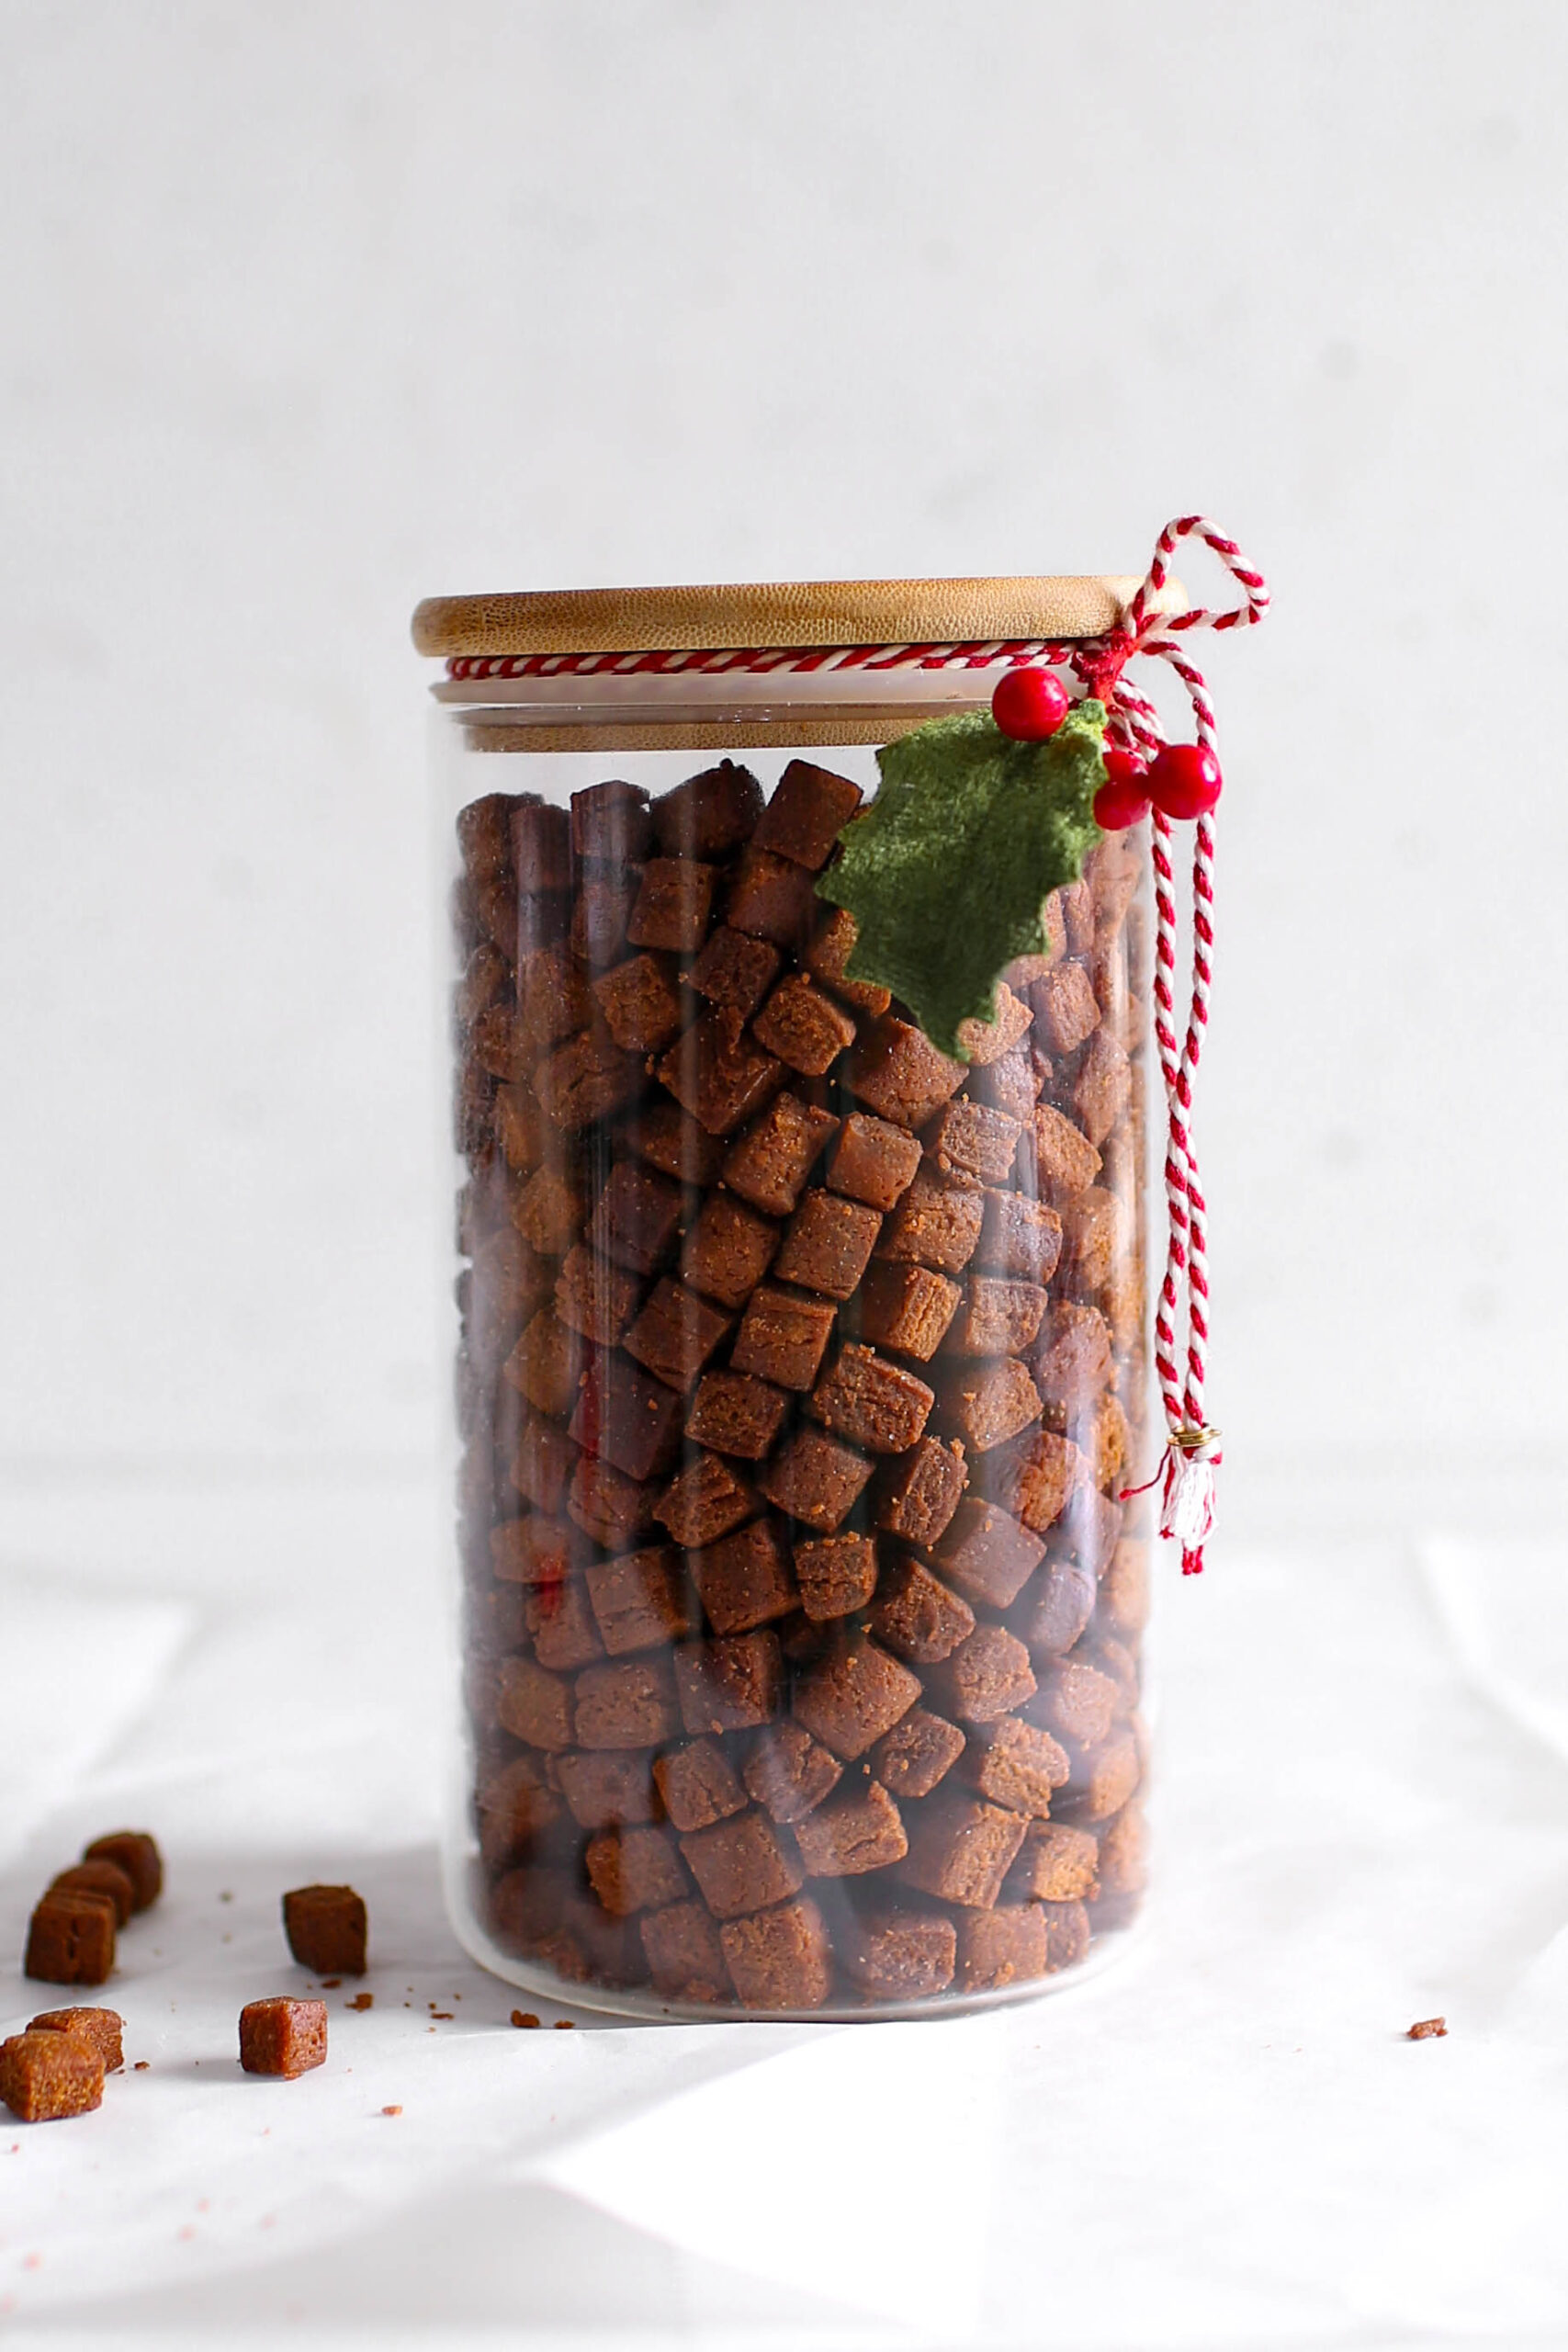
Growing up, chin chin was a staple at family gatherings. It sat proudly alongside jollof rice, puff-puff, and others. The moment a tray of chin chin hit the table, you’d see hands darting in from every direction, competing for the crunchiest pieces. If you’ve tried my original chin chin recipe, you already know how good it is. But with the holidays approaching, I’ve given this classic a festive twist, adding the warm, spicy flavors of gingerbread. Trust me, it’s a game-changer.
What Makes Gingerbread Chin Chin Special
The secret to this recipe is the spice blend. A touch of ginger, cinnamon, and nutmeg transforms the familiar into something wholly festive. The flavors don’t overpower; they complement, making each bite feel cozy and nostalgic.
Another standout feature is the crunch. Chin chin is known for its crisp texture, and this version delivers that satisfying bite every single time. Pair it with a cup of hot chocolate, soda, or even your morning coffee, and you’ve got yourself the perfect holiday snack.
Plus, It’s festive: Packed with gingerbread spices, it’s the perfect snack for holiday gatherings or gift-giving and It’s quick to make and even quicker to eat!
The Ingredients
Flour: All-purpose flour works best for this recipe. It gives the perfect texture: crispy and light.
Spices: This is where the magic happens. Cinnamon, ginger, cloves, and nutmeg bring the warm, holiday vibes to life. Don’t be afraid to adjust the spices to suit your taste or skip one if you prefer a milder flavor.
Molasses: Molasses is the star ingredient here. It adds color and a rich sweetness that enhances the spices beautifully. If you don’t have molasses, dark brown sugar can work as a substitute, though the flavor won’t be as intense.
Butter: I used unsalted butter, but if you’re using salted butter, skip or reduce the salt in the recipe to balance it out.
Egg: The egg helps bind the dough and gives the chin chin a nice crunch. It’s the secret to achieving that perfect texture.
Brown Sugar: Brown sugar adds sweetness while complementing the spices. If you don’t have it on hand, white sugar works too.
Milk: I prefer evaporated milk for its richness, but whole milk or even water can work as an alternative.
Step-by-Step
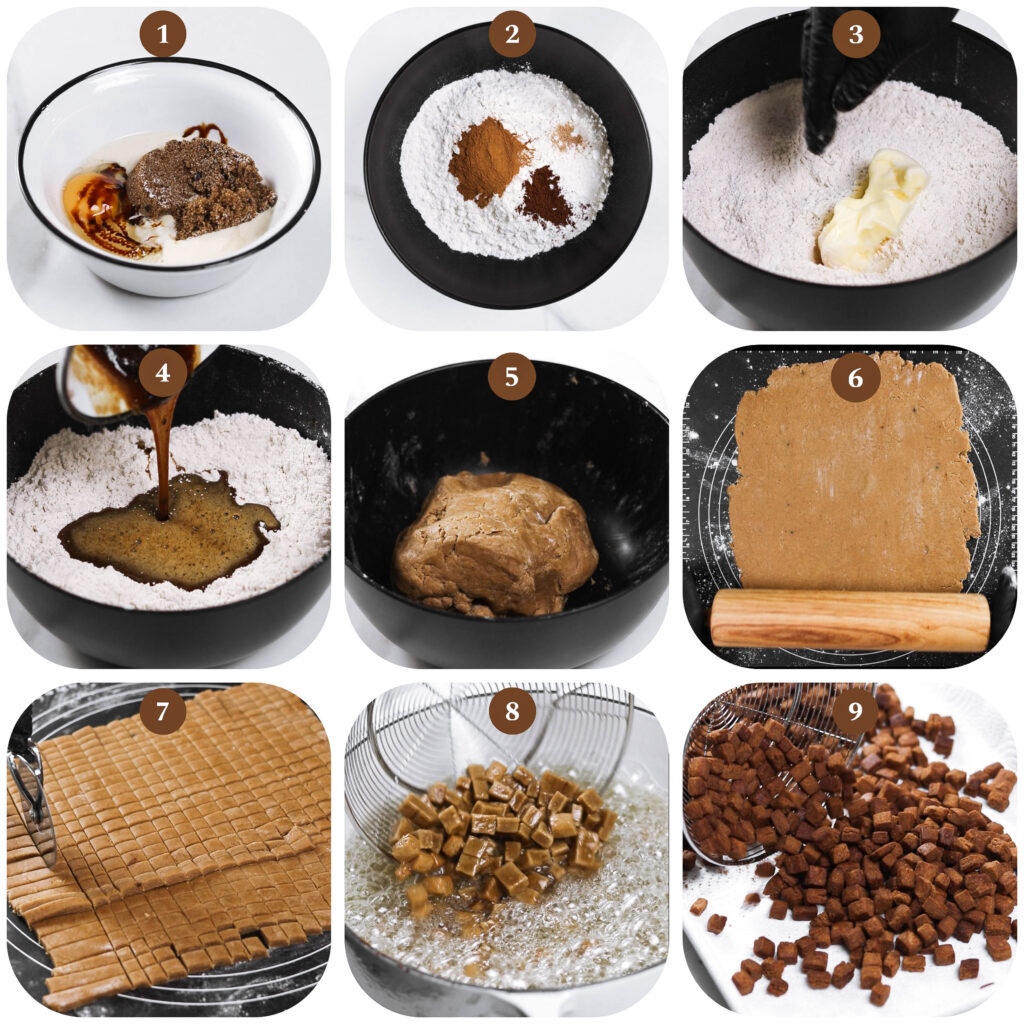
Step 1: Mix the Wet Ingredients: In a small bowl, whisk together the egg, evaporated milk, molasses, and brown sugar until smooth. Set aside. (Image 1)
Step 2: Combine the Dry Ingredients: In a large mixing bowl, sift together the flour, salt, cinnamon, cloves, ginger, and nutmeg. Mix well.(Image 2)
Step 3: Incorporate the Butter: Add the butter to the dry mixture and use your fingers to rub it in until the texture resembles coarse breadcrumbs. (Image 3)
Step 4: Pour in the Wet Mixture: Make a well in the center of the dry ingredients and pour in the wet mixture. (Image 4)
Step 5: Form the Dough: Make a well in the center, then pour the wet mixture into the dry ingredients. Mix until a dough forms. If the dough feels too dry, add a splash of milk or water. If it’s too sticky, sprinkle in a little flour. Knead gently until smooth. (Image 5)
Tip: Gingerbread chin chin requires a bit of extra kneading time due to the molasses, which can make the dough more crumbly than usual.
Step 6: Roll the Dough: Roll the dough out on a floured surface to about 1/4 inch thickness. (Image 6)
Step 7: Cut the Dough: Use a knife, pastry cutter, or pizza cutter to cut it into small squares, rectangles, or any shape you prefer. Lightly dust the pieces with flour to prevent sticking. (Image 7)
Step 8: Fry the Chin Chin: Heat oil in a deep pan over medium heat. Test the oil, then fry the dough pieces in small batches until golden brown. (Image 8)
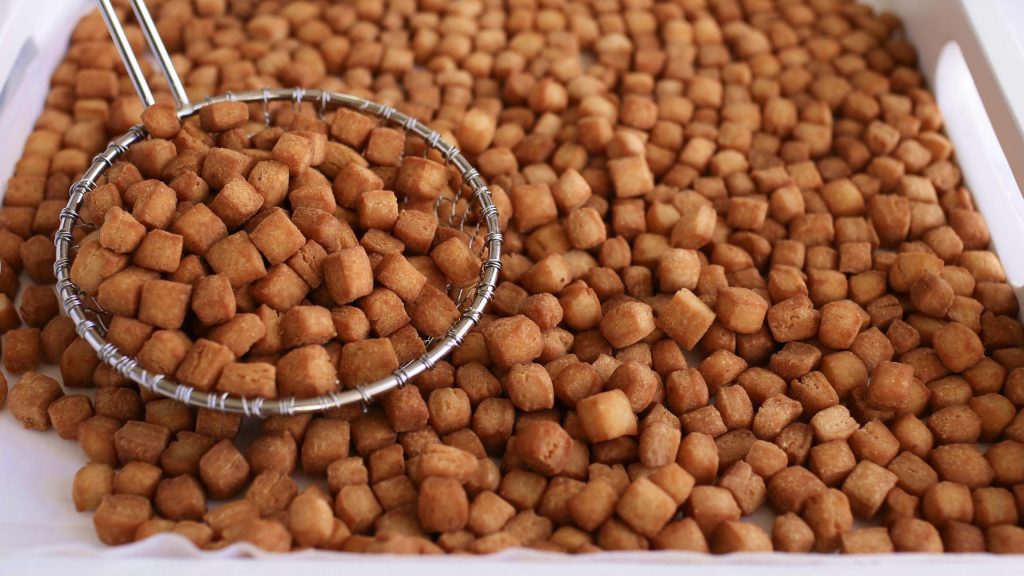
Step 9: Drain and Cool: Use a slotted spoon to remove the fried chin chin and place it on paper towels to drain excess oil. Allow to cool completely. (Image 9)
My Favorite Part
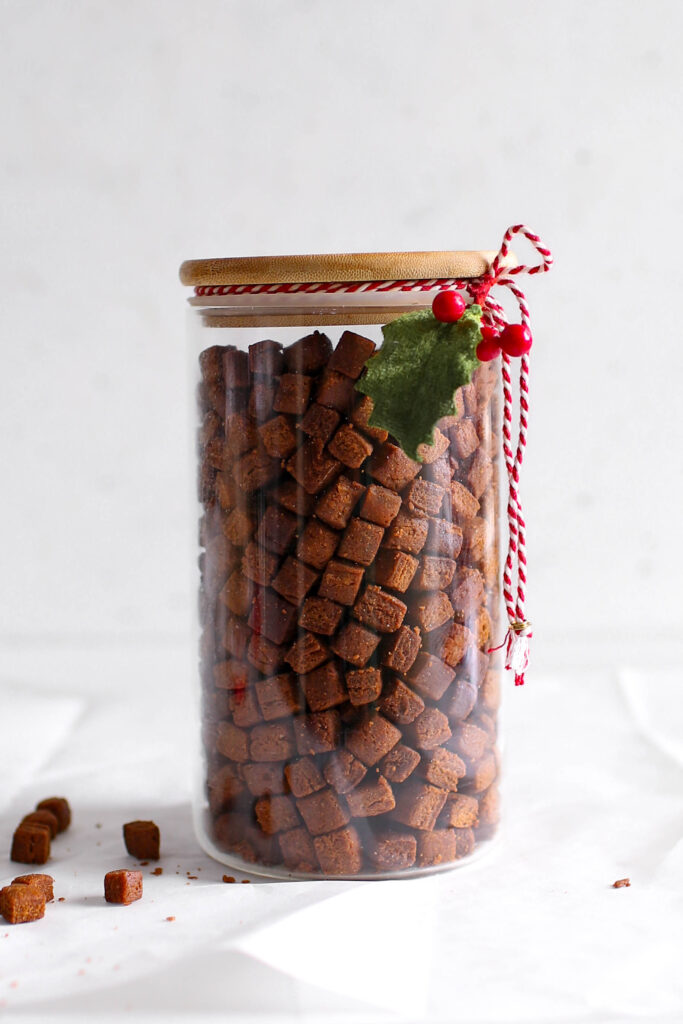
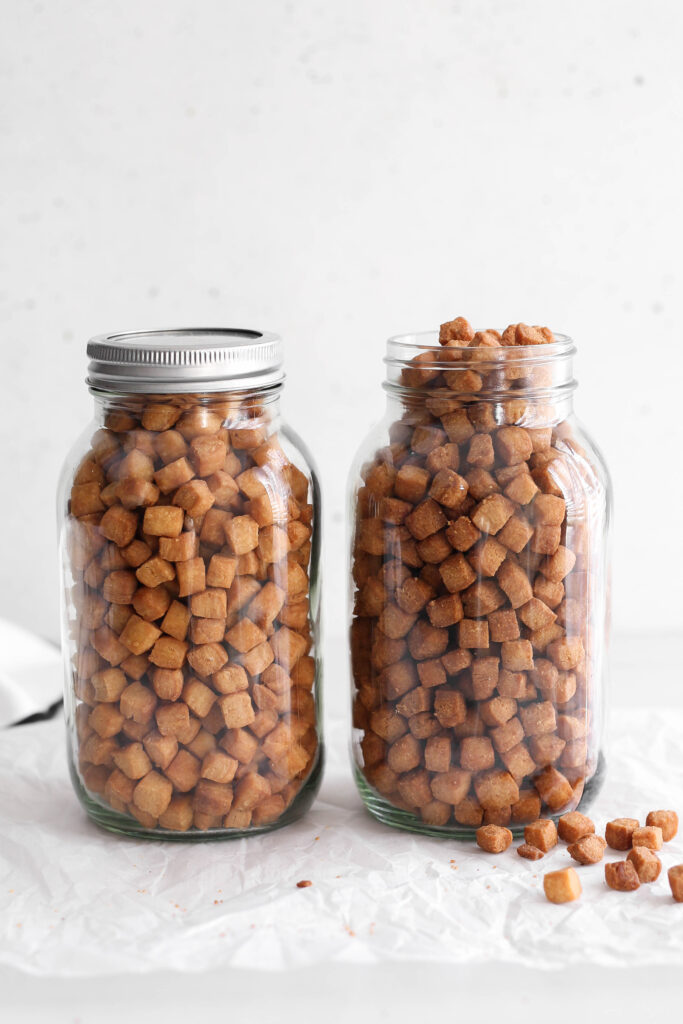
What I love most about Gingerbread Chin Chin is its versatility. You can also cut the dough into any shape: squares, strips, or even festive cookie cutters if you’re feeling creative. Make a big batch, pack them into jars, and gift them to friends and family. It’s a simple yet thoughtful way to spread a little holiday cheer.
How to Make Gingerbread Chin Chin in an Air Fryer/Oven
- If you prefer a healthier, oil-free alternative, you can make gingerbread chin chin in an air fryer. Here’s how:
- Prepare the Dough
- Follow steps 1 to 7 in the main recipe to prepare, roll out, and cut the dough into small pieces.
- Preheat the Air Fryer/oven
- Arrange the Dough Pieces
- Place the cut dough pieces in a single layer, ensuring they do in batches to avoid overcrowding. For the oven, place in a lined baking wide pan.
- Air Fry the Chin Chin: Air fry the dough pieces at 350°F (175°C) for 10 -12 minutes, shaking the basket halfway through to ensure even browning.
- Cool and Enjoy
- Remove the chin chin from the air fryer and transfer it to a wire rack to cool completely. They will crisp up further as they cool.
- For then oven, preheat your oven to 350, place chin chin in a lined baking pan. Bake for about 12 minites.
- This holiday season, why not try something different? Gingerbread Chin Chin is a nod to tradition with a deliciously modern twist. Whether you’re sharing it with loved ones or enjoying it solo in the glow of holiday lights, it’s guaranteed to add a little extra joy to your festivities.
- Let me know if you try this recipe…I’d love to hear what you think. And if you put your own spin on it, share your tips in the comments below!
- Happy holidays, foodies!
Gift it!
Gingerbread Chin Chin makes the perfect edible gift for the holidays. Pack them into mason jars, festive tins, or cellophane bags tied with a ribbon for a thoughtful, homemade present. Add a personal touch by including a handwritten tag with the recipe or a note wishing your loved ones a joyful holiday season.
Not only is this treat a crowd-pleaser, but it’s also a versatile gift…perfect for friends, neighbors, teachers, or as a unique addition to holiday gift baskets. It’s a simple way to share the warmth and joy of the season!
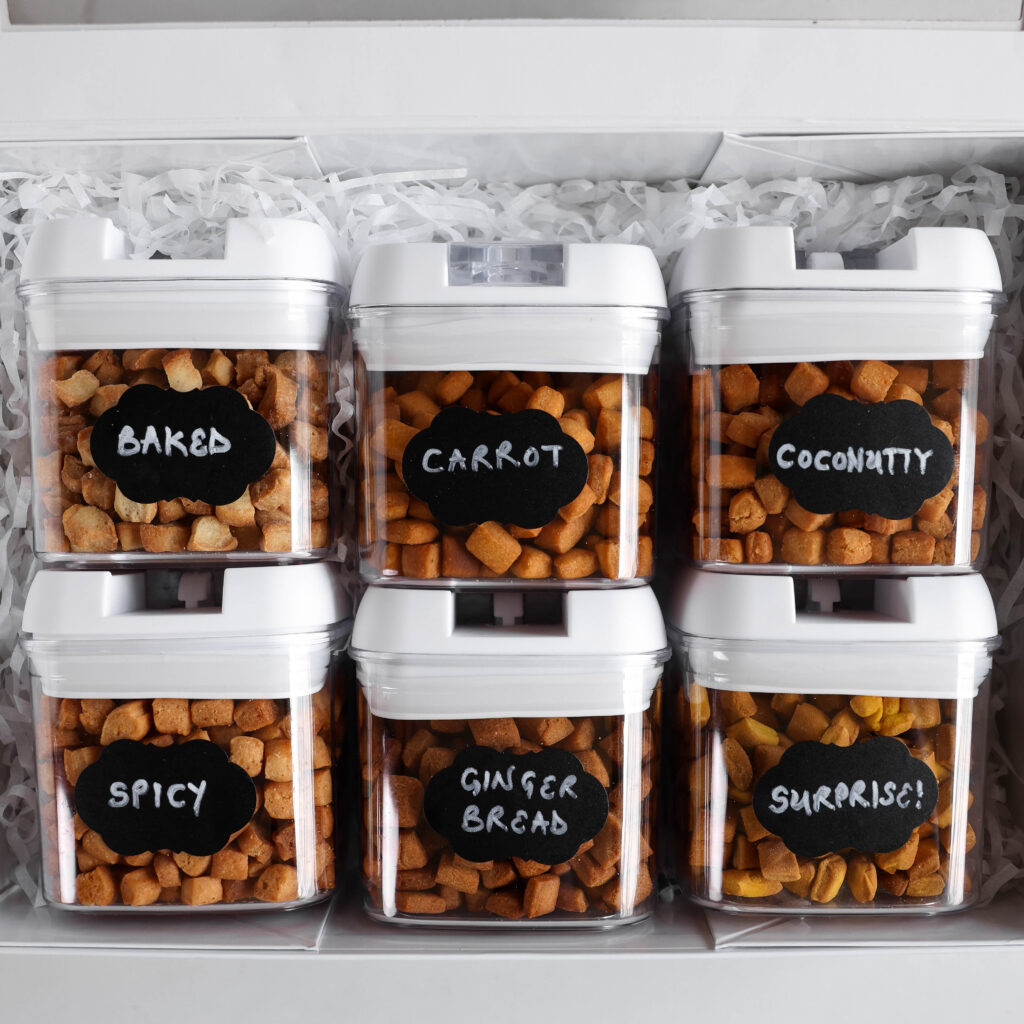
If you loved this Gingerbread Chin Chin, you’ll want to try more of my holiday favorites.
Gingerbread Chin Chin
Ingredients
- 1 whole egg
- ¼ cup+ 1 tablespoon evaporated milk 70ml
- 2 tablespoons molasses 40g
- ½ cup brown sugar 110g
- 3 cups all-purpose flour 400g
- ½ teaspoon salt 3g
- 2 teaspoons cinnamon
- ½ teaspoon ground cloves
- 2 teaspoons ground ginger
- ½ teaspoon freshly grated nutmeg
- 6 tablespoons butter or margarine 100g
- Oil for frying
Instructions
- In a small bowl, whisk together the egg, evaporated milk, molasses, and brown sugar until smooth. Set aside.
- In a separate mixing bowl, sift together the flour, salt, cinnamon, cloves, ginger, and nutmeg. Mix thoroughly.
- Add the butter to the dry mixture. Use your fingers to rub the butter into the flour.
- Pour the wet mixture into the dry ingredients.
- Mix until a dough forms. If the dough feels too dry, add a splash of milk or water. Knead gently until smooth.
- Roll the dough out on a floured surface to about 1/4 inch thickness. Ensure the surface is well-floured to prevent sticking.
- Use a knife or pizza cutter to cut the dough into small squares, rectangles, or your desired shapes.
- Heat oil in a deep pan over medium heat. Test the oil temperature by dropping in a small piece of dough, it should sizzle but not brown immediately.
- Fry the dough pieces in small batches, stirring occasionally, until they turn brown. Avoid overcrowding the pan to maintain even cooking.
- Remove the chin chin from the oil using a slotted spoon and place on a paper towel-lined plate to drain excess oil.
- Let the chin chin cool completely. It will become crunchier as it cools.
- Enjoy immediately, or store in an airtight container for up to 3-4 weeks.
Did you make this recipe?
Tag, mention or DM @kikifoodies. I would love to hear from you!
