homemade bread loaf
Homemade bread might sound intimidating, but it’s surprisingly simple and so worth the effort.
homemade bread loaf
There’s nothing quite as comforting as the scent of freshly baked bread filling your home. Though it may seem intimidating, making homemade bread is surprisingly simple…and truly worth every effort.
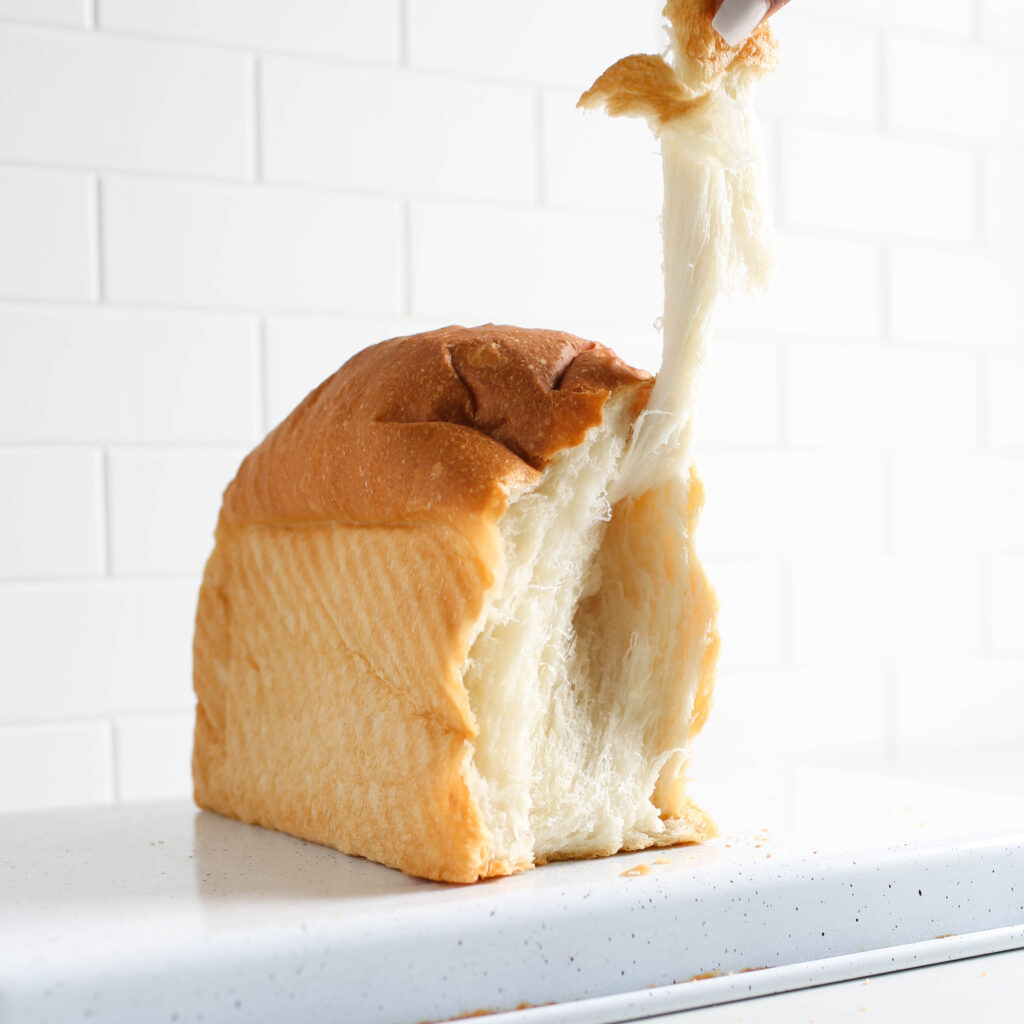
A few pantry ingredients, a little love, and some patience are all you need to whip up a loaf that’s soft, fluffy, and completely irresistible. Whether it’s for morning toast, a killer sandwich, or just tearing into it warm with a smear of butter (yes, please!), this bread is a game-changer.
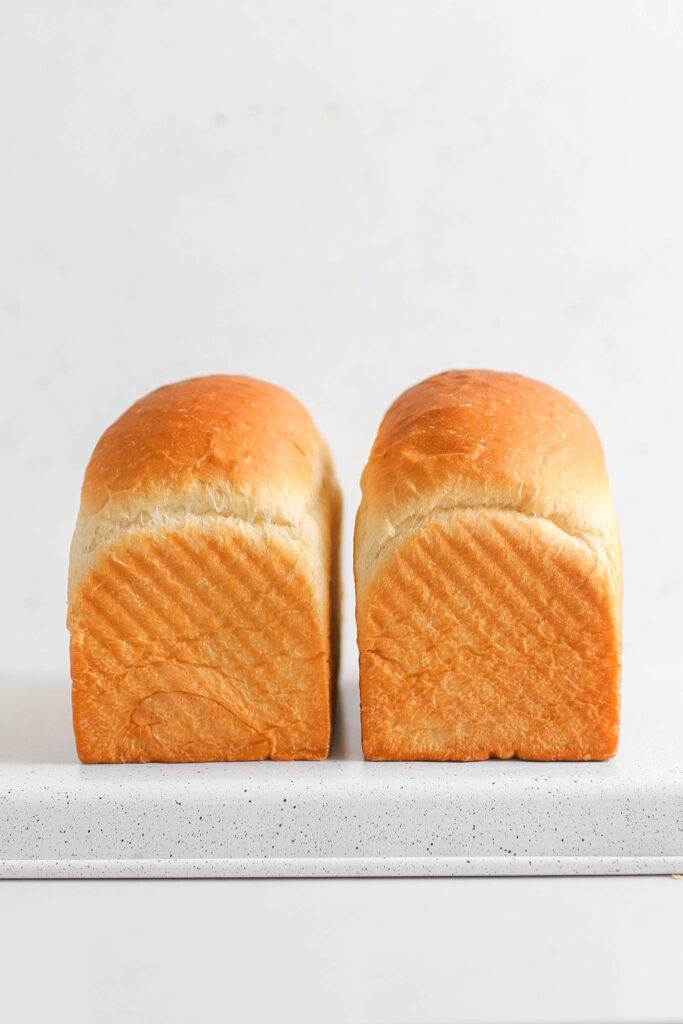
“All you need is Loaf”
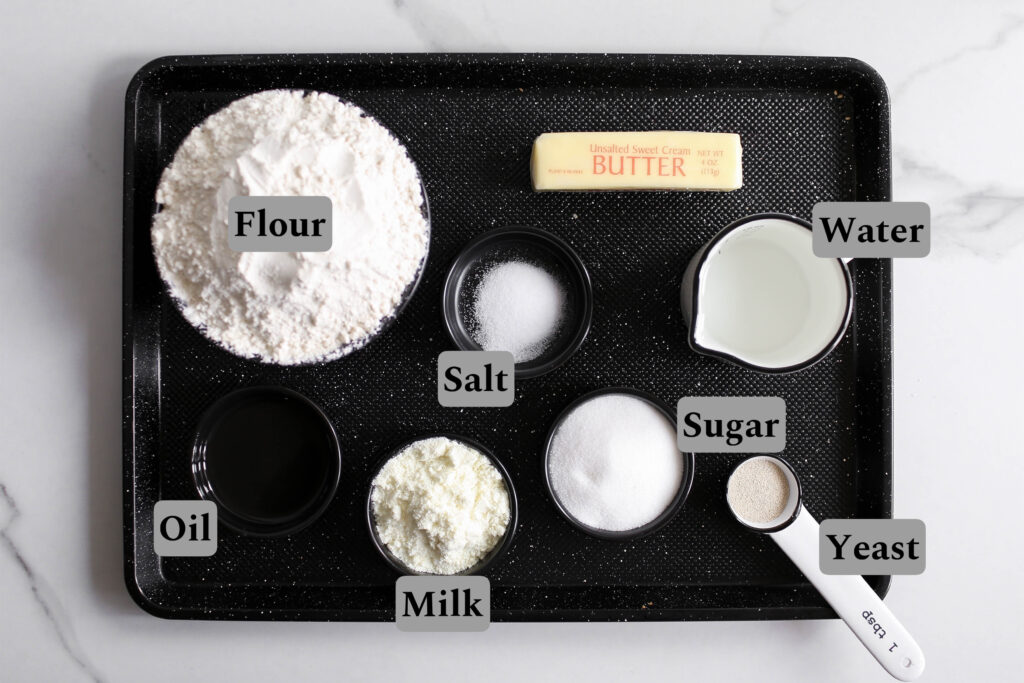
Ingredients and substitutions
Instant Yeast: I use instant yeast because it’s easy to work with and doesn’t require proofing, making the bread-making process quicker and more convenient. You can use active dry yeast, but it requires proofing in warm water for about 5-10 minutes before mixing to dissolve properly.
Bread Flour: Works best because it has higher protein content, which creates a strong gluten structure resulting in a chewy and bouncy texture. All-purpose flour can be used, but the texture may be slightly less chewy.
Water or Milk: Needed for hydrating the dough and activating the yeast. If you want a richer dough, substitute some or all of the water with milk. You can use whole milk, 2%, or even evaporated milk mixed with water for added richness. If using liquid milk, omit the powdered milk from the recipe.
Sugar: Feeds the yeast, helps with browning, and adds sweetness to the bread. Substitution: Honey, maple syrup, or even a sugar substitute like stevia can be used, though you may need to adjust the quantity to taste.
Butter and Oil: The butter makes the bread soft, adds a nice buttery flavor, and helps with the crumb structure. The oil also contributes to softness and can make the bread last slightly longer. Substitution with Margarine or a neutral-flavored oil.
Powdered Milk: Enhances the flavor and softness of the bread. You can replace this with liquid milk.
Salt: enhances the flavor and also helps control yeast activity for even fermentation.
How to Measure Flour Correctly
Measuring by grams gives the most accurate results, but if you don’t have a kitchen scale, you can still measure the flour and other dry ingredients using measuring cups and spoons.
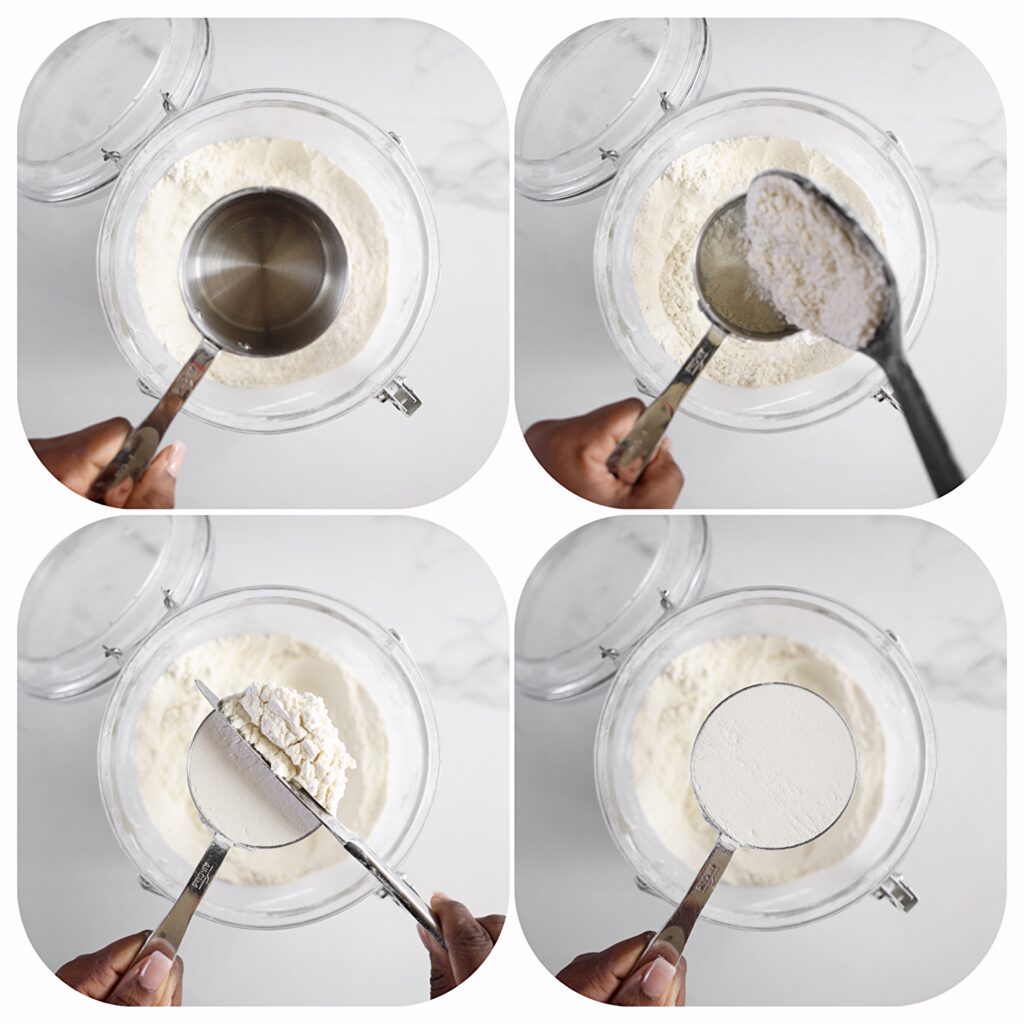
- Use a Dry Measuring Cup for accuracy.
- Use a spoon to gently scoop flour into your measuring cup. Avoid scooping the flour directly with the measuring cup, as this can cause it to become packed, resulting in too much flour.
- Slightly overfill, then level off with a knife. Use the flat side of a knife or a straight edge to
- Ready to use.
How to Make Homemade Bread
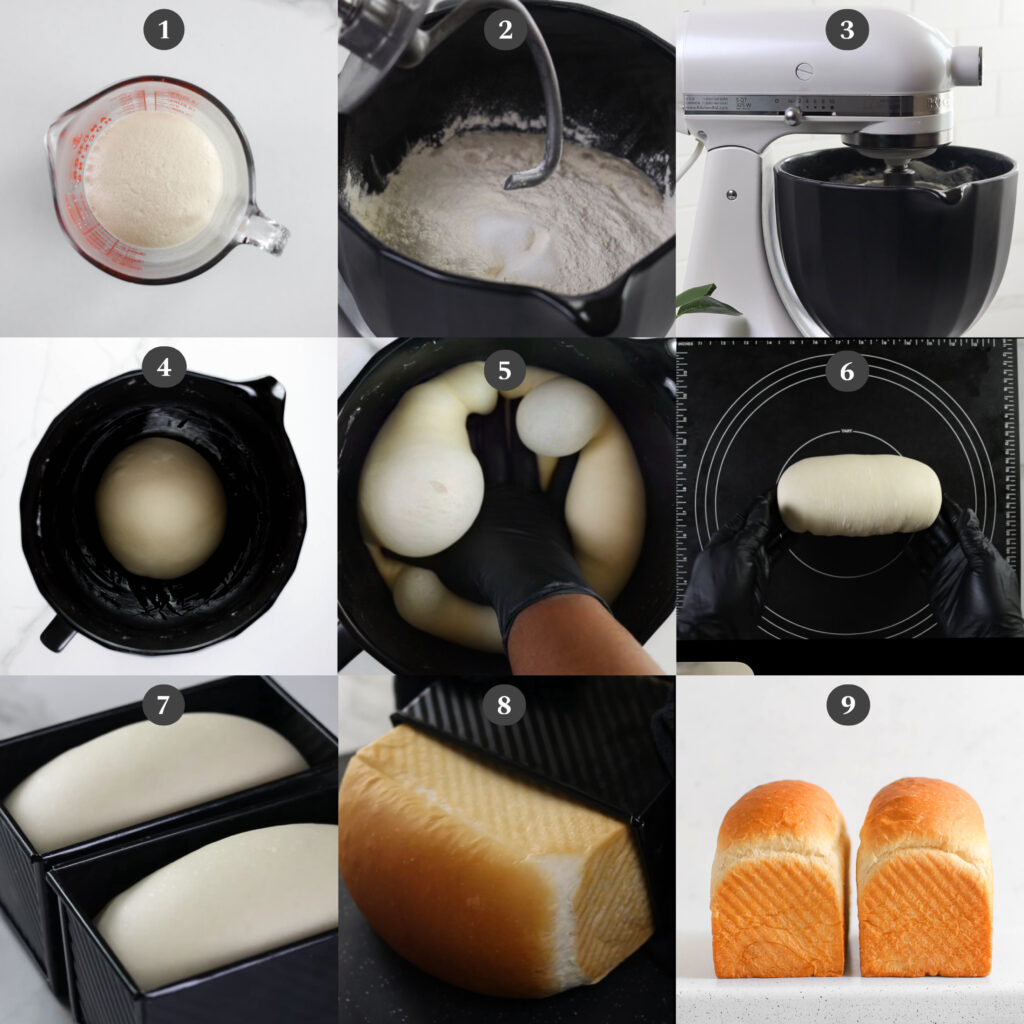
Activate the Yeast (Image 1): To a bowl, add the instant yeast directly with room temperature water or milk. For active dry yeast, use warm water and mix it with the yeast and a small amount of sugar (optional). Let it sit for a few minutes until it becomes frothy, indicating that the yeast is activated.
Add the Dry Ingredients (Image 2): Add the flour, sugar, salt, and powdered milk if using.
Combine and Knead (Image 3): If using a stand mixer, with a dough hook attachment or knead by hand until the dough becomes well-combined, elastic, and smooth. Add the butter and oil then mix until smooth.
Kneading Times with Speed Settings:
- Start on Speed 2 or “Stir” setting for 2 minutes to bring the ingredients together.
- Increase to Speed 4 for 2 minutes to further develop the dough.
- Add the butter and oil and continue kneading at Speed 4 for an additional 4 minutes until fully incorporated and the dough is smooth and elastic.
To check if your dough is fully kneaded, it should feel smooth, elastic, and slightly tacky. Use the “windowpane test” by gently stretching a small piece of dough…if it can be stretched thin enough to let light through without tearing, it’s ready!
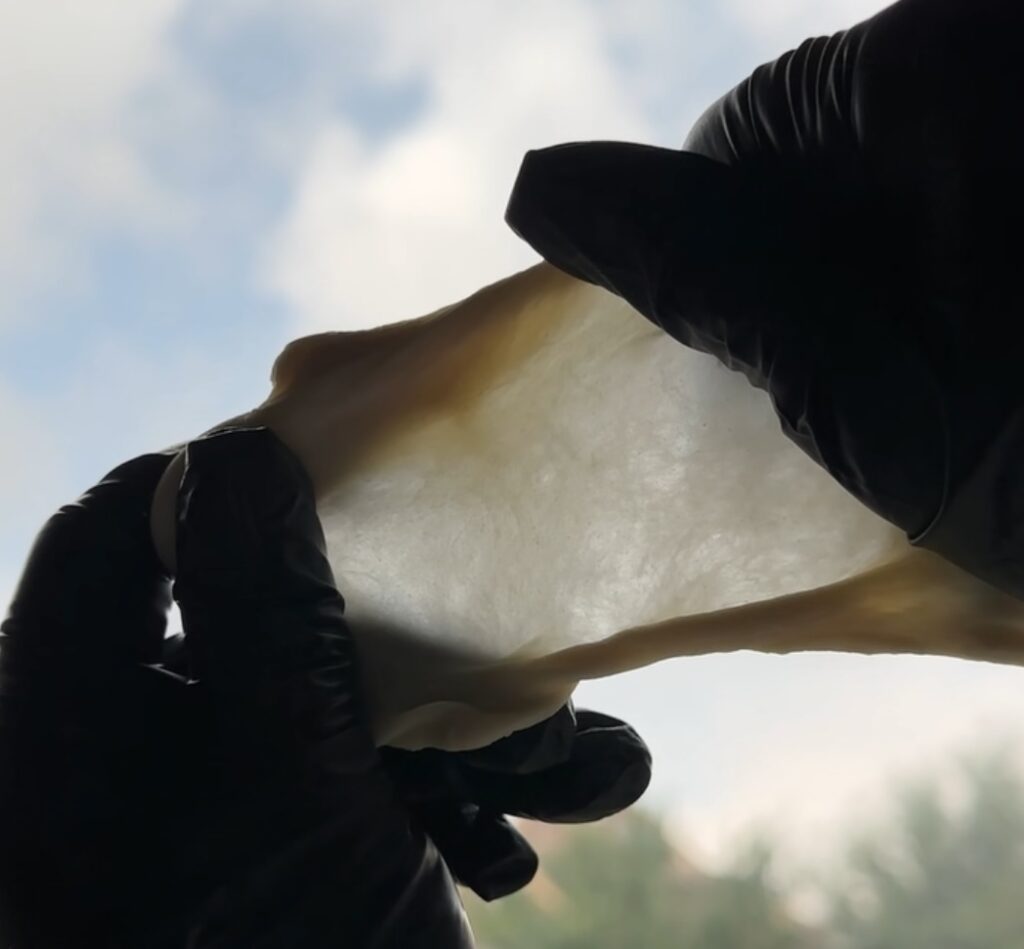
First Rise (Image 4): Place the dough in a lightly oiled bowl, cover it with a clean cloth or plastic wrap, and let it rise in a warm spot until it doubles in size.
Tip: The temperature of your environment plays a big role in how quickly your dough rises. Warmer environments speed up yeast activity, meaning your dough will rise faster, while cooler temperatures will slow it down. If you’re in a colder kitchen, you can create a warmer spot by placing your dough near a warm oven, using a proofing setting if you have that, or even covering it and letting it rise in a slightly warmed (but turned off) oven. Just keep an eye on your dough…rising times are just guidelines, and the dough is ready when it has doubled in size!
Punch Down the Dough (Image 5): Once the dough has risen, gently punch it down to release any trapped air bubbles.
Shape the Dough (Image 6): On a clean surface, shape the dough by folding and rolling it into a smooth, even shape that fits your loaf pan.
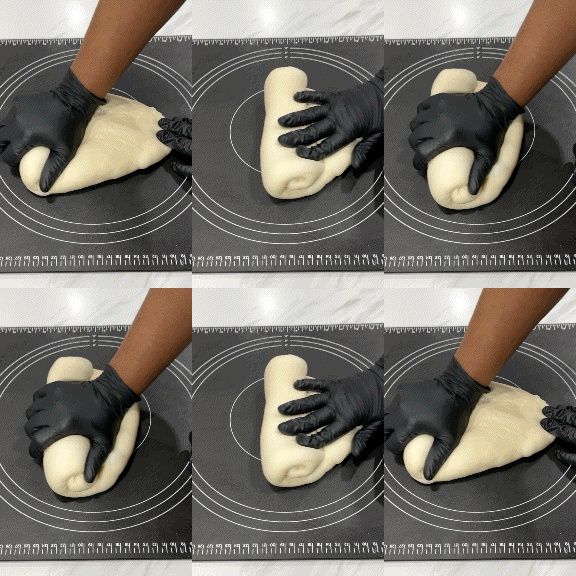
My loaf pan measures 8.35” W x 4.25” H, and each dough portion weighs approximately 597g.
To divide the dough evenly, weigh the entire dough (approximately 1,195 grams), then divide that figure in half. You’ll get roughly 597.5 grams for each portion.
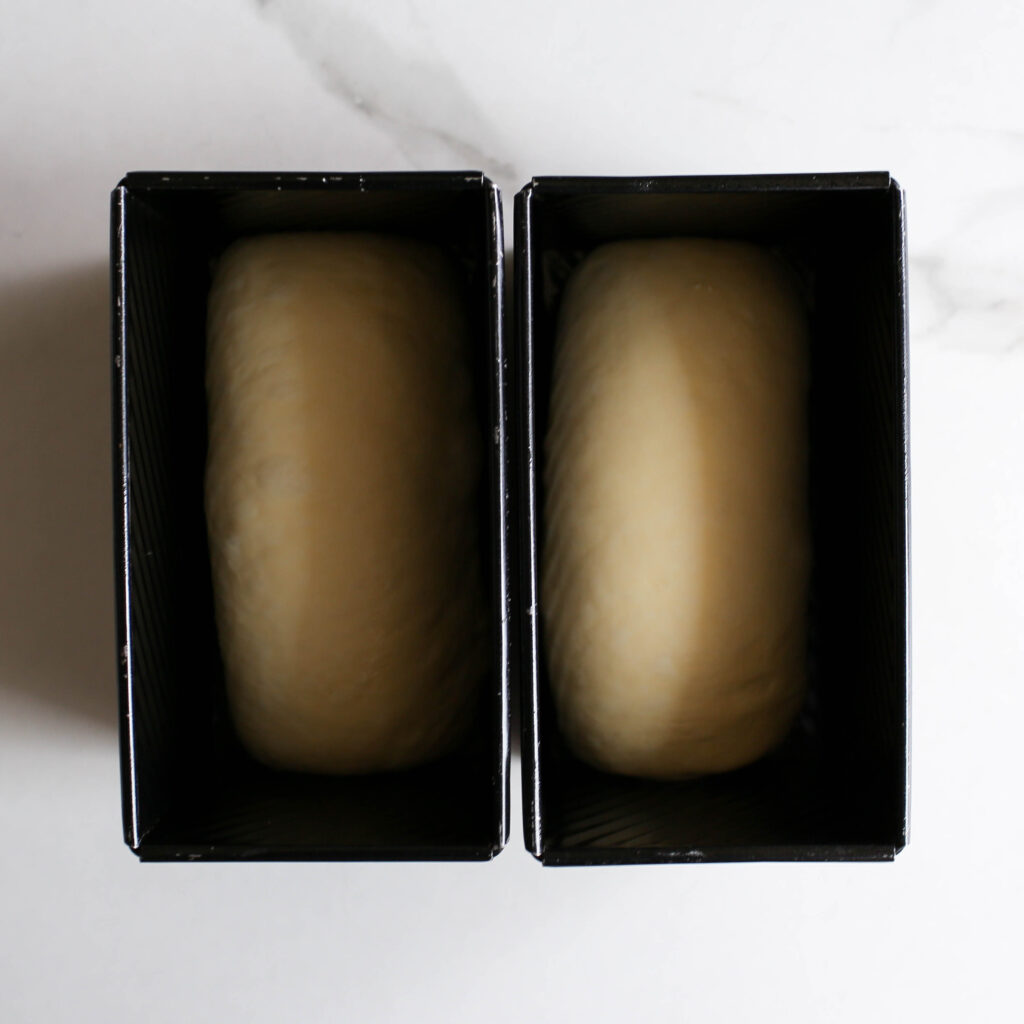
Second Rise (Image 7): Place the shaped dough into a greased loaf pan. Cover it again and let it rise until it doubles in size and almost fills the pan.
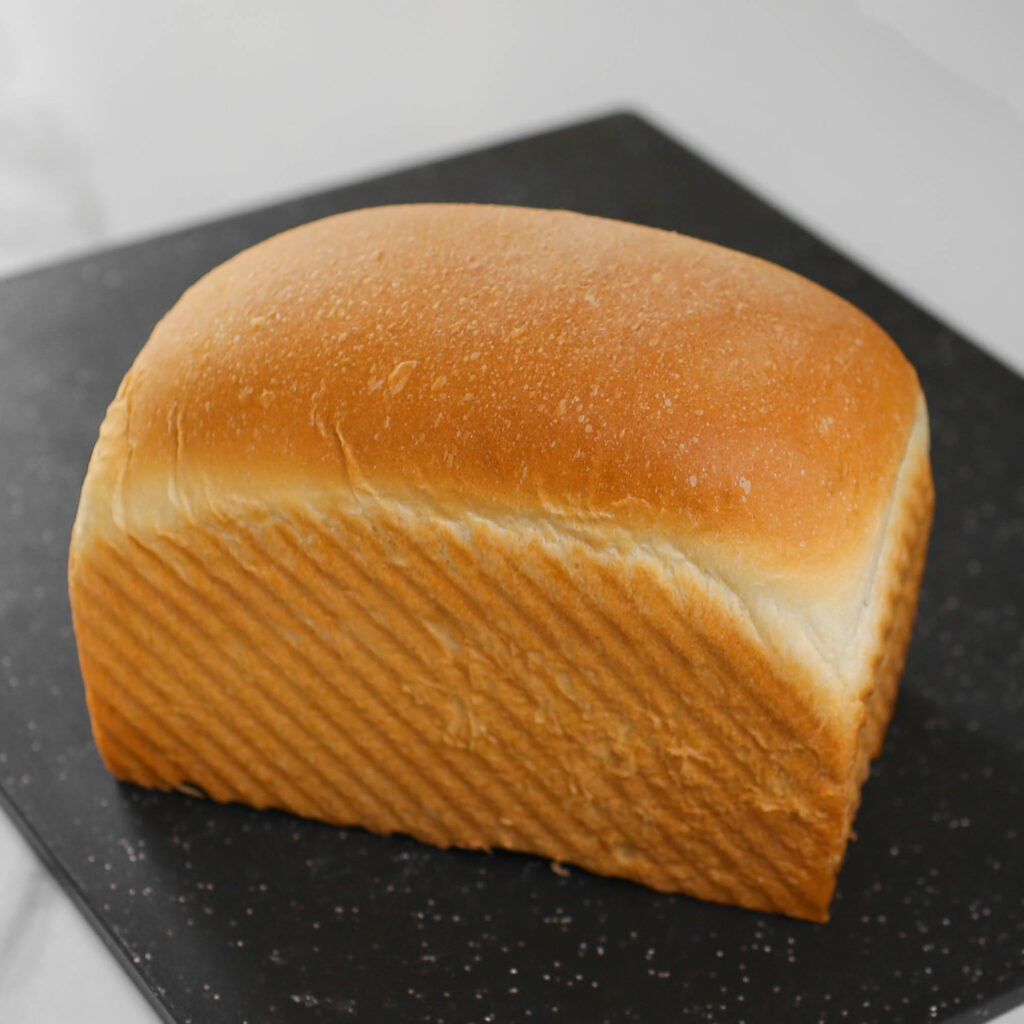
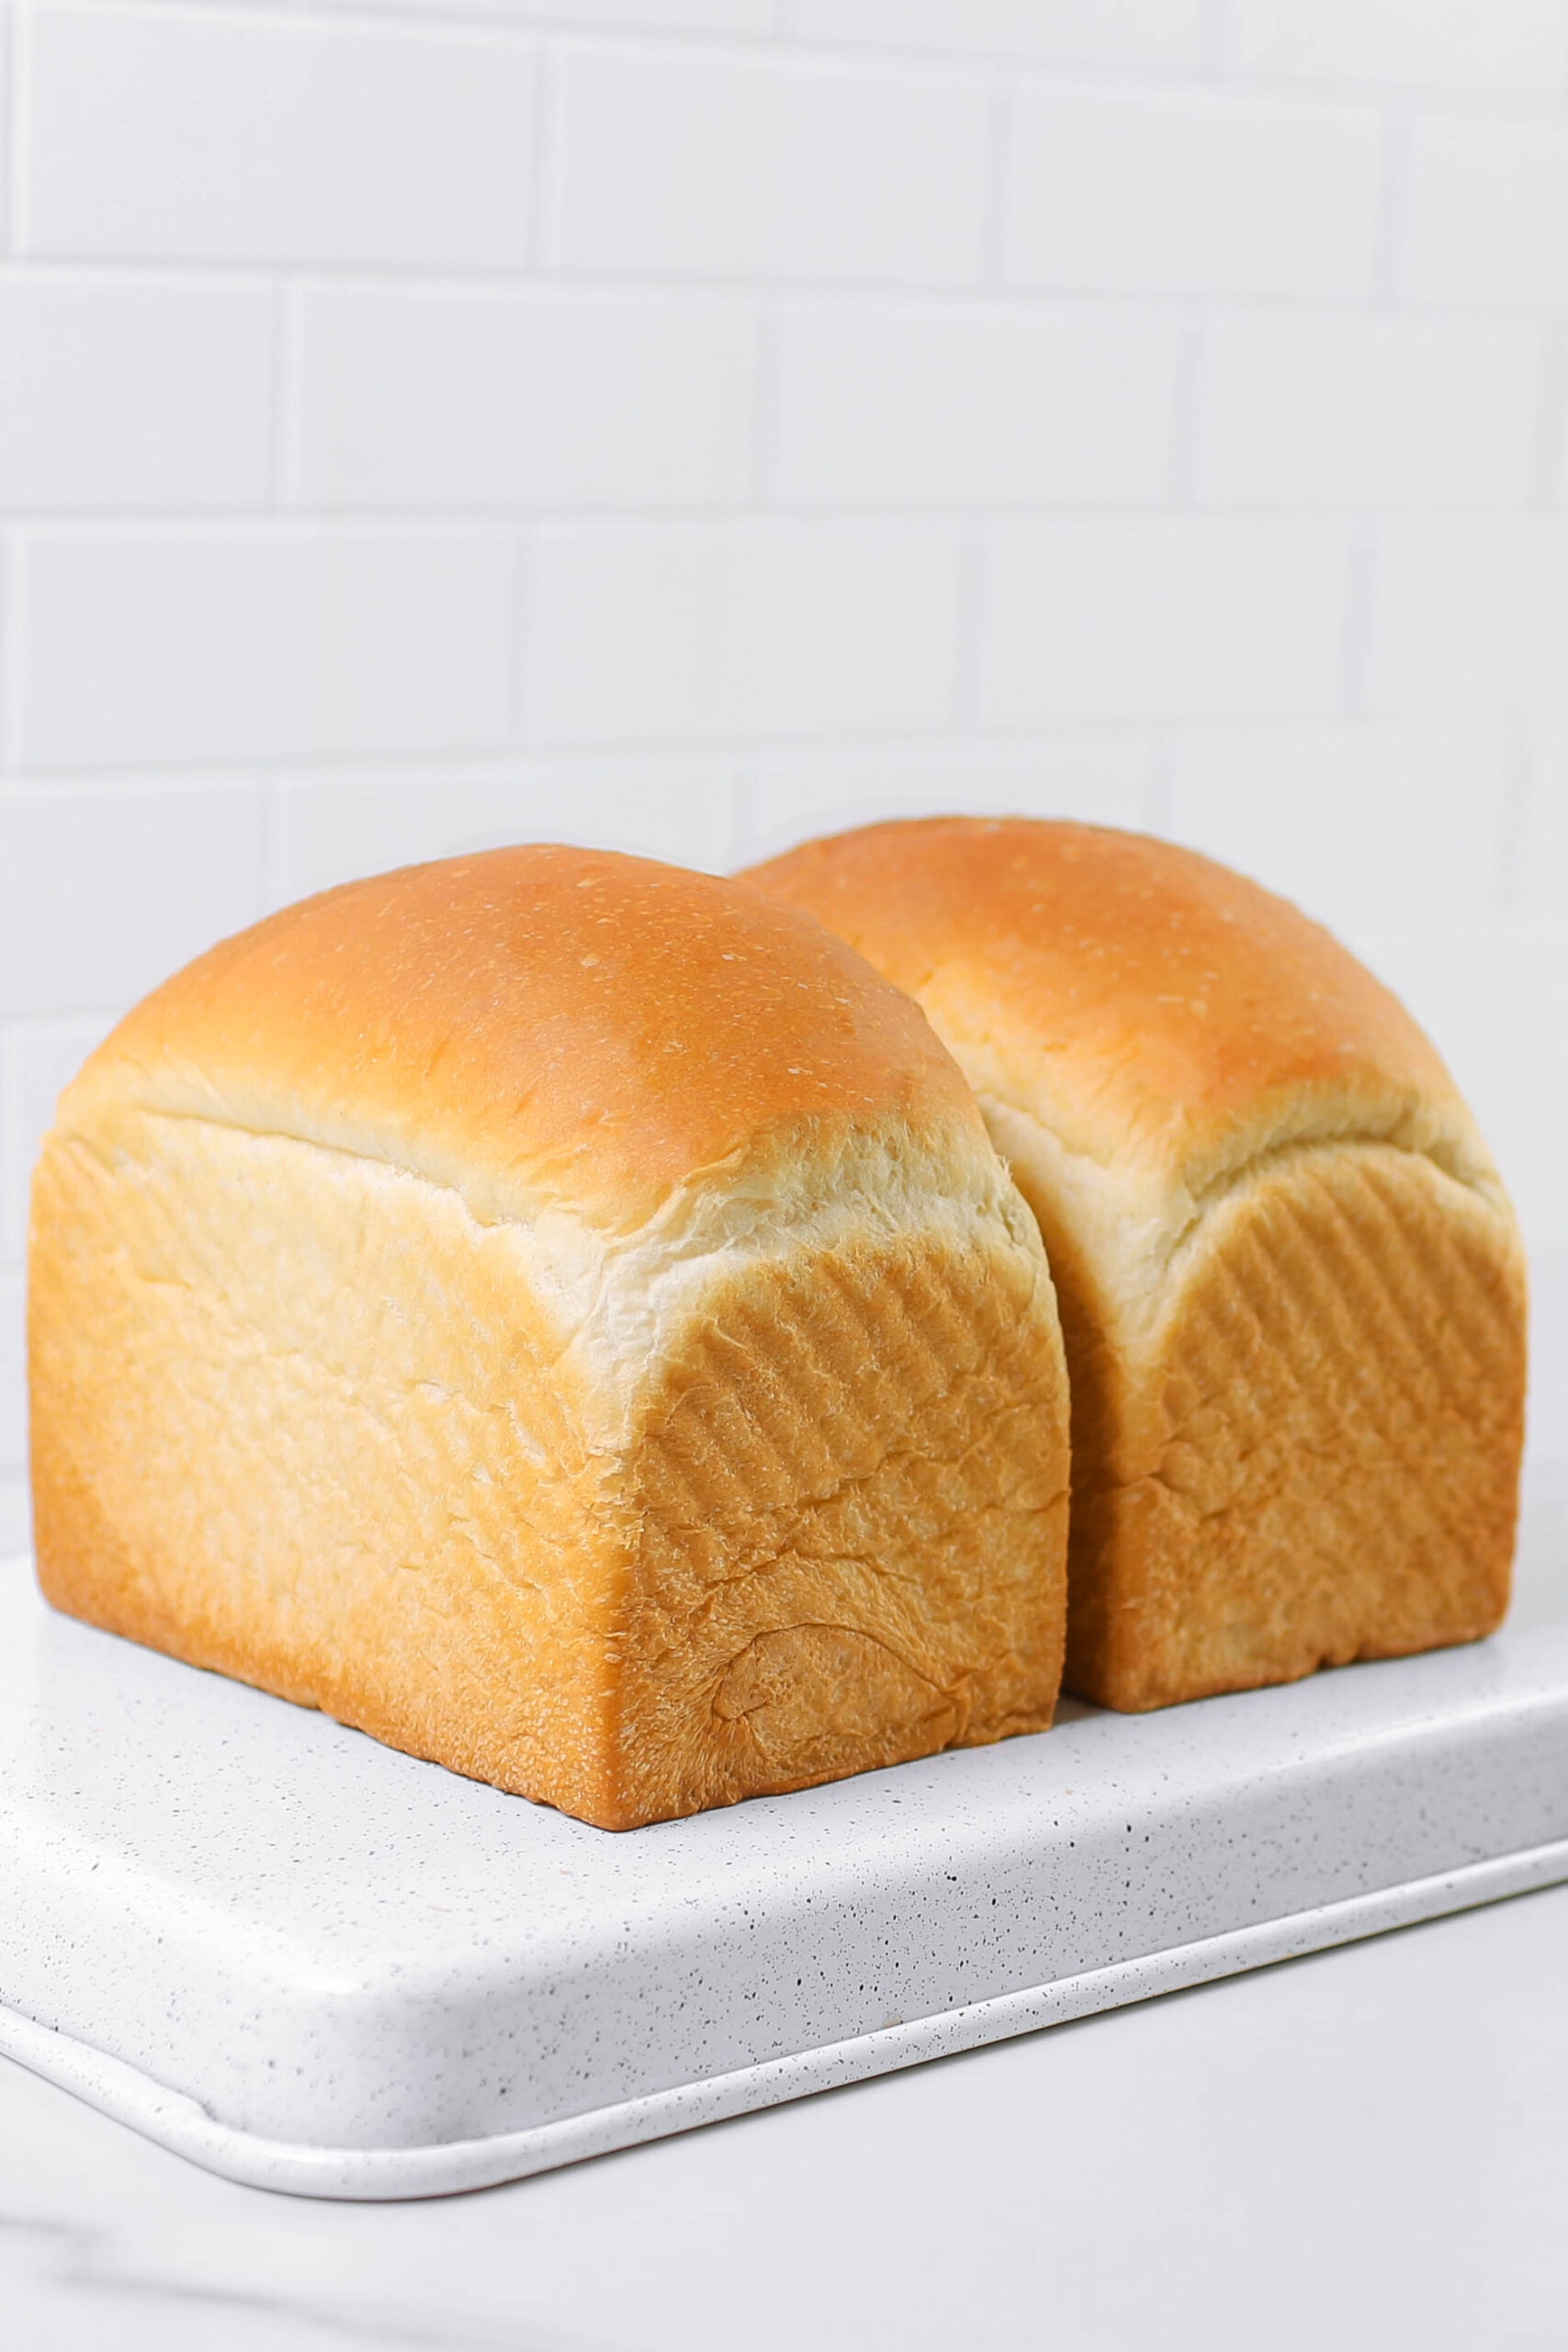
Bake the Bread (Image 8): Preheat your oven to 350°F/175°C). When the oven gets to that temperature, Bake the bread for 30 minutes or until the top is golden brown and the bread is fully cooked through.
Tip:: If the top of the bread starts to brown too quickly, cover it loosely with foil to prevent over-browning while it continues to bake.
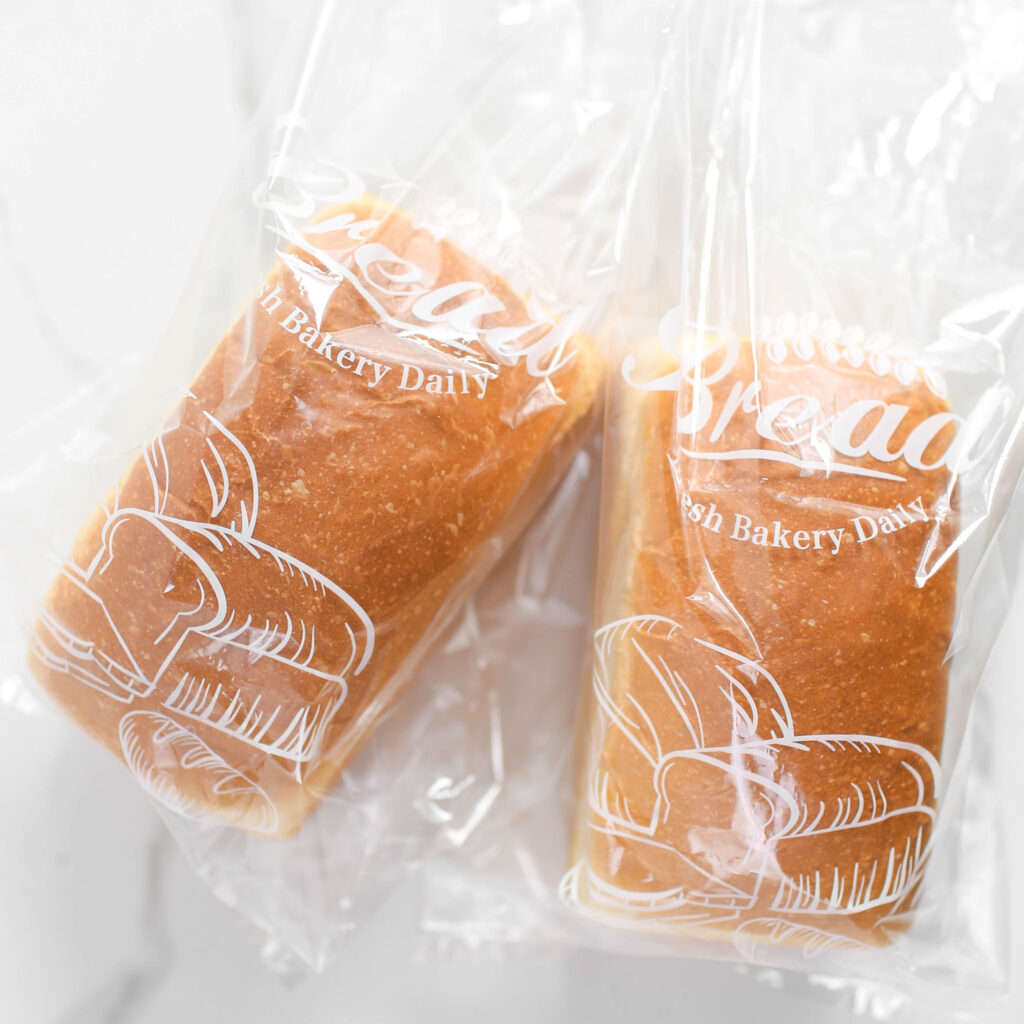
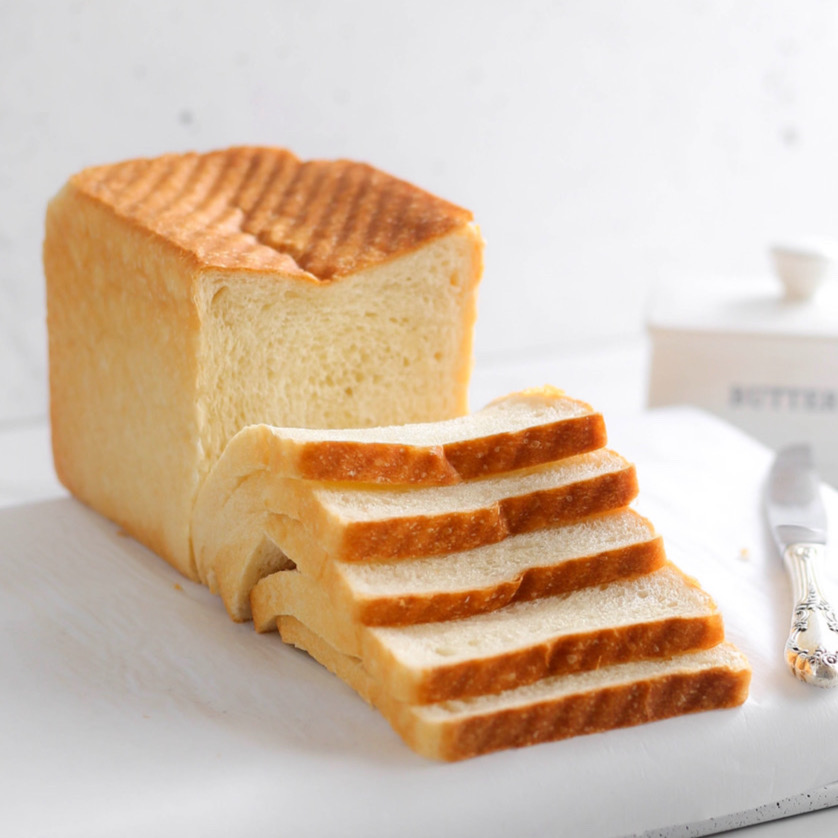
Cool and Bag (Image 9): Remove the bread from the pan and let it cool completely on a wire rack before slicing.
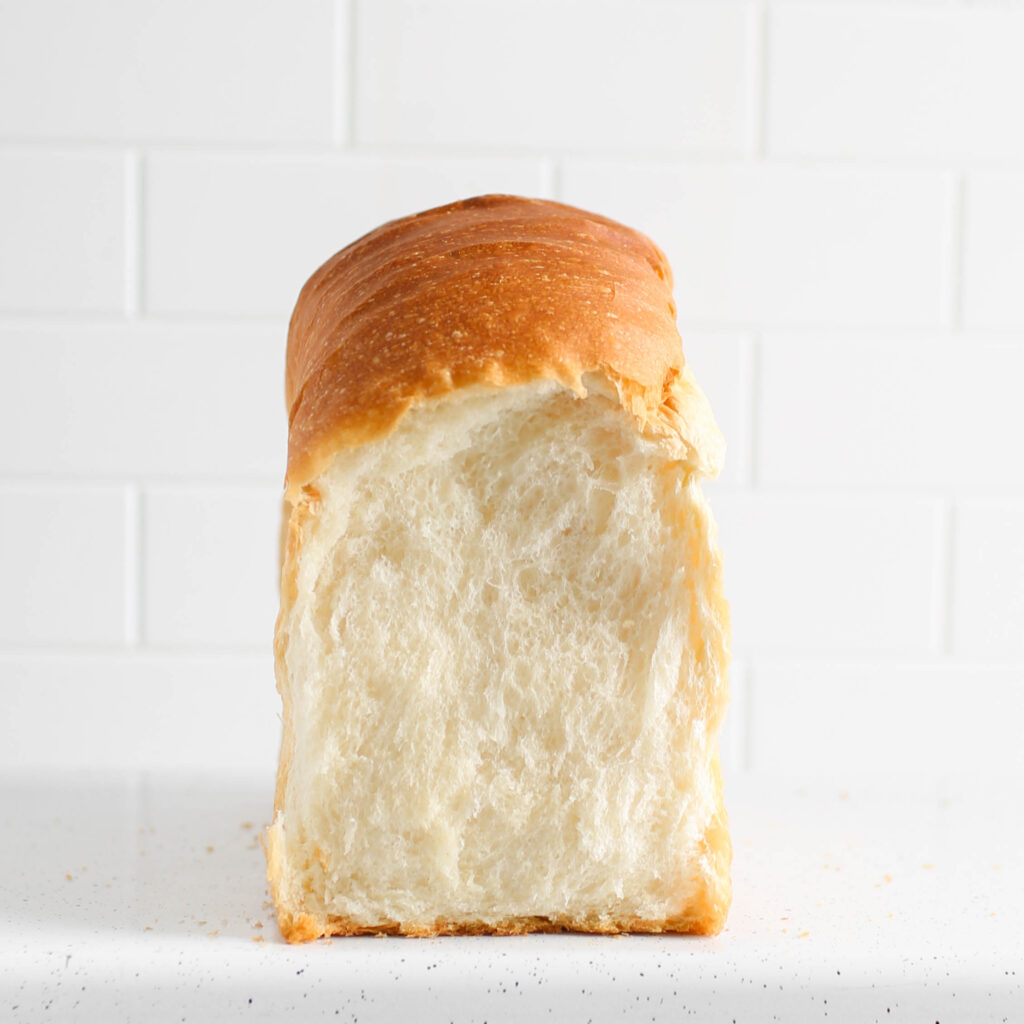
Here’s how I keep my homemade bread fresh
This bread rarely lasts more than a couple of days in my house…seriously, it’s that good! But if you do manage to hold off from devouring it all, here’s how to store it properly:
Wrap it Up Tight: To keep your bread soft and delicious, wrap it well in plastic wrap, foil, or pop it in an airtight container. This keeps the crust soft and prevents it from drying out too quickly.
Room Temp is Your Friend: Store the wrapped bread at room temperature for up to 4-5 days. Just a heads up…bread and the fridge don’t get along. Refrigerating will actually make it go stale faster!
Freeze It for Later: Want to save some for another day (or resist eating the entire loaf in one sitting)? Freezing is your best option. When You’re Ready to Indulge: Thaw frozen bread at room temperature If you freeze it while it’s still fresh, It’ll taste just as fresh and delicious as the day you baked it!
Tips for making the best bread
Use a Kitchen Scale: Measuring ingredients by weight, especially flour and water, ensures accuracy and consistency and this little step goes a long way.
Don’t Rush the Yeast: Make sure your yeast is fresh and give it time to work its magic. If you’re using active dry yeast, let it proof in warm water first (about 5-10 minutes) until it’s foamy. This lets you know the yeast is still active.
Room Temperature Ingredients: For best results, let ingredients like butter and milk (if using) come to room temperature before using
Knead Like a Pro: Kneading develops gluten, which gives the bread structure and chewiness. If you’re kneading by hand, it takes about 15-20 minutes; a stand mixer will cut that time in half. You’ll know it’s ready when the dough is smooth and elastic.
Second Rise: The second rise improves the texture and crumb of your bread. After the first rise, gently punch down the dough to release excess air. Then, shape it and let it rise again to develop a better structure, a softer crumb, and a more flavorful loaf.
Bread loves a hot oven! Preheating ensures even baking and gives your loaf a great oven spring (that initial rise in the oven).
Cool on a Wire Rack: It’s tempting to slice right in, but let your bread cool completely on a wire rack.
Experiment and Have Fun: Baking bread is as much an art as it is a science. Don’t be afraid to play with flavors, shapes, or techniques as you grow your skills!
Homemade Bread FAQs
Why didn’t my bread rise?
There could be several reasons why your bread didn’t rise. Your yeast might be expired or inactive. Additionally, if your water was too hot when activating active dry yeast, it could have killed it. To prevent this, ensure your water temperature is around 110°F (43°C). You can test this by dipping a clean finger into the water…it should feel warm but not hot, roughly the temperature of your body.
Can I use instant yeast instead of active dry yeast for bread?
Yes, instant yeast can be used interchangeably with active dry yeast and doesn’t require proofing. If substituting, use the same amount.
How long should I let my bread dough rise?
Rising times depend on temperature and humidity. Generally, the dough should double in size. This may take 1-2 hours or more, depending on your environment. Hot environments= faster rise, colder weather= slower rise.
Why is my bread strong? / Why is my bread dense?
Dense bread can be caused by not enough kneading, too much flour, or under-proofing (not allowing the dough enough time to rise). Proper kneading develops gluten, and giving your dough adequate rising time creates a light, airy crumb.
Can I substitute all-purpose flour for bread flour?
Yes, you can! However, bread flour has a higher protein content, which creates a chewier texture. If you use all-purpose flour, your bread may be slightly softer and less chewy, but it will still be delicious.
How do I know when my dough is fully kneaded?
The dough is ready when it’s smooth, elastic, and slightly tacky. You can perform the “windowpane test” by stretching a small piece of dough. If it stretches thin enough to see light through without tearing, it’s properly kneaded.

Can I freeze homemade bread?
Yes! Homemade bread freezes well. Wrap it tightly in plastic wrap or foil and store it in a freezer bag for longer-lasting freshness.
How should I store homemade bread?
To keep bread fresh for 4-5 days, wrap it tightly in plastic wrap, aluminum foil, or store it in an airtight container at room temperature. Avoid refrigerating, as it can dry out the bread.
Why is my bread dough sticky?
A slightly sticky dough is normal, as it helps keep the bread soft. If it’s excessively sticky, you can gradually add a bit more flour during kneading, but be careful not to add too much, or you risk making the bread dense.
Watch how to make it
Ingredients
- 354 g water 1 ½ cups
- 7 g instant yeast 2 ¼ teaspoons
- 70 g sugar ¼ cup + 2 tbsp
- 650 g bread flour about 5 cups
- 32 g powdered milk ¼ cup (see Note 1)
- 9 g salt 1 ½ teaspoons
- 60 g butter 5 tbsp (room temperature)
- 13 g oil 1 tbsp
Instructions
Mix the Dough
- Combine the water, instant yeast, and sugar in a mixing bowl. Stir to dissolve (see Note 1 if using active dry yeast).
- Add the bread flour, powdered milk, and salt. Use a stand mixer fitted with a dough hook.
- Starting on Speed 2 or the “Stir” setting for 2 minutes to combine the ingredients (see Note 2). Increase the speed to 4 for another 2 minutes to further develop the dough.
Add the Butter
- Add the room-temperature butter and oil to the dough.
- Continue kneading at Speed 4 for 4 minutes until the butter is fully incorporated and the dough is smooth and elastic. If the dough is too sticky, add more flour gradually (see Note 3).
First Rise
- Transfer the dough to a lightly oiled bowl, cover it with a damp cloth or plastic wrap, and let it rise in a warm, area until it has doubled in size. The rising time will vary based on the temperature of your environment (see Note 4).
Punch Down and Shape
- Once the dough has doubled, gently punch it down to release excess air.
- Shape the dough as desired and place it into a greased loaf pan.
Second Rise
- Cover and let the dough rise again until it has nearly doubled in size. This second rise is crucial for improving texture and crumb (see Note 5).
- Preheat your oven to 350°F (175°C)
- Place the risen dough in the preheated oven and bake for 30 minutes, or until the bread is golden brown. If the bread becomes too brown, cover it with foil.
- Allow the bread to cool completely on a wire rack before bagging.
Notes
- Powdered Milk: If you prefer, you can use whole milk, 2% milk, or evaporated milk mixed with water instead. If using liquid milk, omit the powdered milk and reduce the water accordingly.
- Kneading develops gluten, which gives bread structure and chewiness. Be careful not to add too much flour, even if the dough is slightly sticky.
- If the dough is too sticky, you can add more flour gradually. Keep in mind that flour density can vary, so adjust as needed without overloading to maintain a soft, elastic dough.
- The temperature of your environment affects rising time. Warmer temperatures speed up rising, while cooler ones slow it down.
- Second Rise: The second rise helps improve texture and crumb, ensuring a softer, lighter loaf.
Did you make this recipe?
Tag, mention or DM @kikifoodies. I would love to hear from you!


Because I forgot to give it 5 stars!
Thank you so much Helen.
I tried this recipe and it came out perfectly!!! First time trying bread and the instructions were so clear with pictures and all. Love it! Thank you kiki
God bless you…Kiki
I followed the steps and exact recipe but this costed me my kitchenaid mixer, the dough was too hard, I think 1 and 1/2 cups of water for 5 cups of flour according to the recipe wasn’t appropriate. Hopefully kitchenaid comes through with helping with repairs
Sorry about that Tope. Thank you for your feedback! The 1 1/2 cups of water usually works for this recipe since the sugar, butter, and oil also contribute to the dough’s moisture. However, depending on factors like flour type, you may need to add a little more water to achieve a soft, pliable dough. I appreciate you sharing your experience, and I hope this tip helps if you try the recipe again!
ufs0rv
This guy s a job well done. Inspirational and compassionate.